Drawing without a pencil: arranging materials for early writing success
How do you learn to write? Does it start with drawing? No, it starts long before, with placing and arranging.
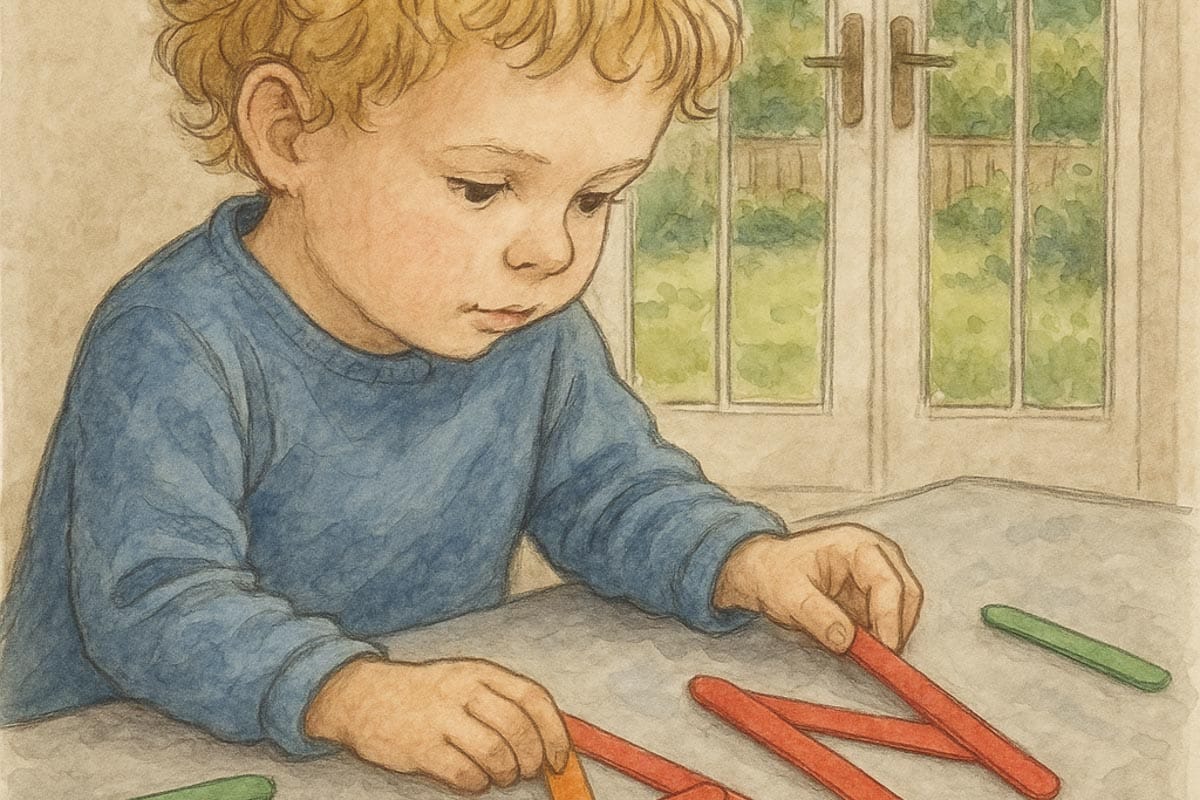
Spring to School is the newsletter for the preschool years, when your child is 3 or 4 and attending nursery. It follows Sam and his friends as they prepare for school through meaningful, play-based activities. Read the introduction here.
The problem: frustration at the kitchen table
It’s a sunny morning in Elmwood, and Sam (3 years, 7 months) is sitting cross-legged on the living room rug, holding up his latest masterpiece. Three big circles fill the page. Two have dots inside. One does not.
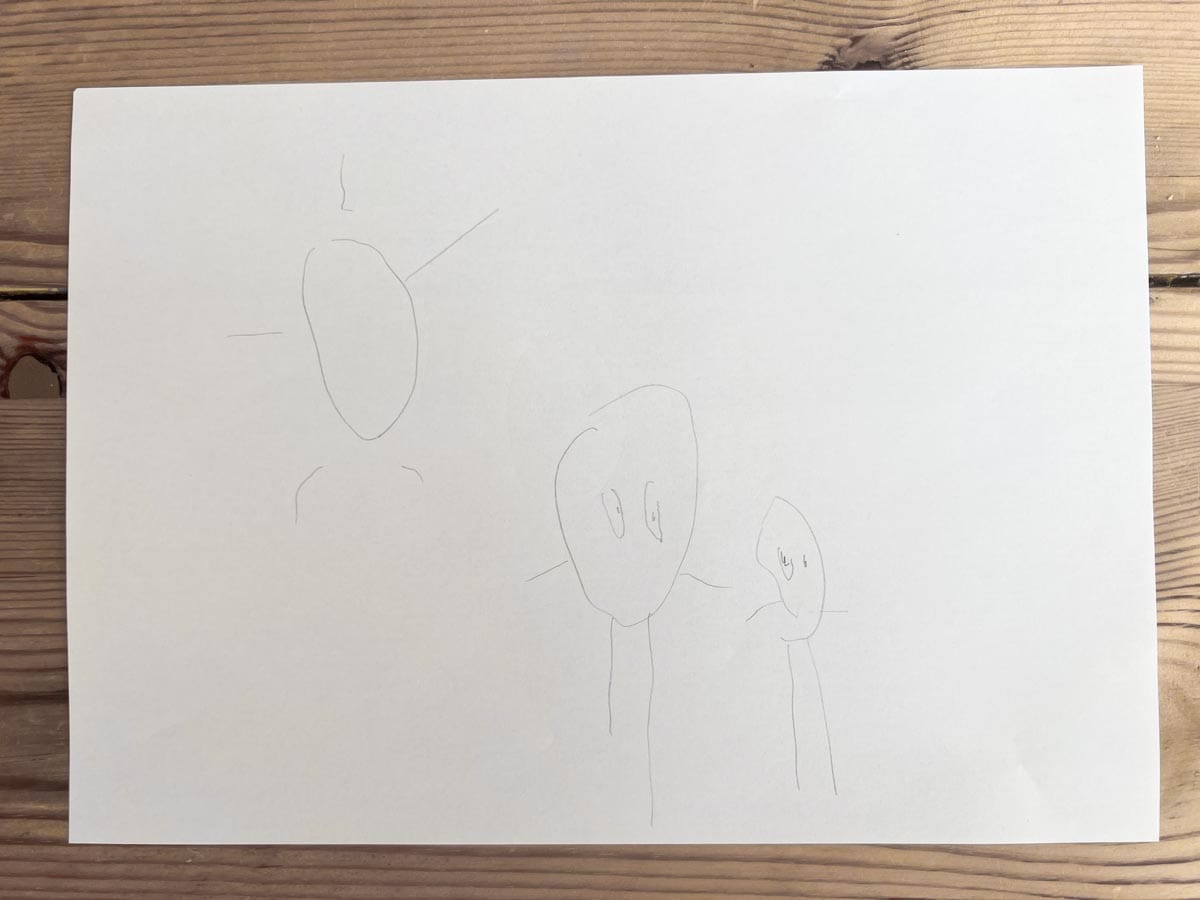
“The big one is you,” he tells his dad. “The little one is me. And that’s the sun.” He’s drawn lines radiating out from all three - arms and legs for the people, rays for the sun.
Thomas smiles and crouches beside him. “It’s beautiful, Sam. Shall we write your name at the bottom?”
Sam hesitates. “I don’t know how.”
“You could try,” Thomas suggests. “S-A-M.”
Sam frowns, takes the pencil, and makes a tentative mark. But the curve goes the wrong way. His ‘S’ starts at the left and loops over to the right, instead of curling back. He tries again, but the lines wobble.
Thomas starts to make a suggestion, and this time it's not the lines that are the problem. Sam's confidence - and bottom lip - start to wobble too.
Time to ease off...
Just then, his mother, Rachel, walks in. “What’s wrong, Sam?”
“I can’t write my name!” he cries.
Rachel kneels beside him and gently takes his hand. “It is a tricky one,” she says. “That ‘S’ is especially hard - your hand wants to go the other way.”
She reaches into the craft trolley and brings out a small box of colourful matchsticks.
“Let’s try it this way instead.”
She lays out one stick. “Here’s the top line.”
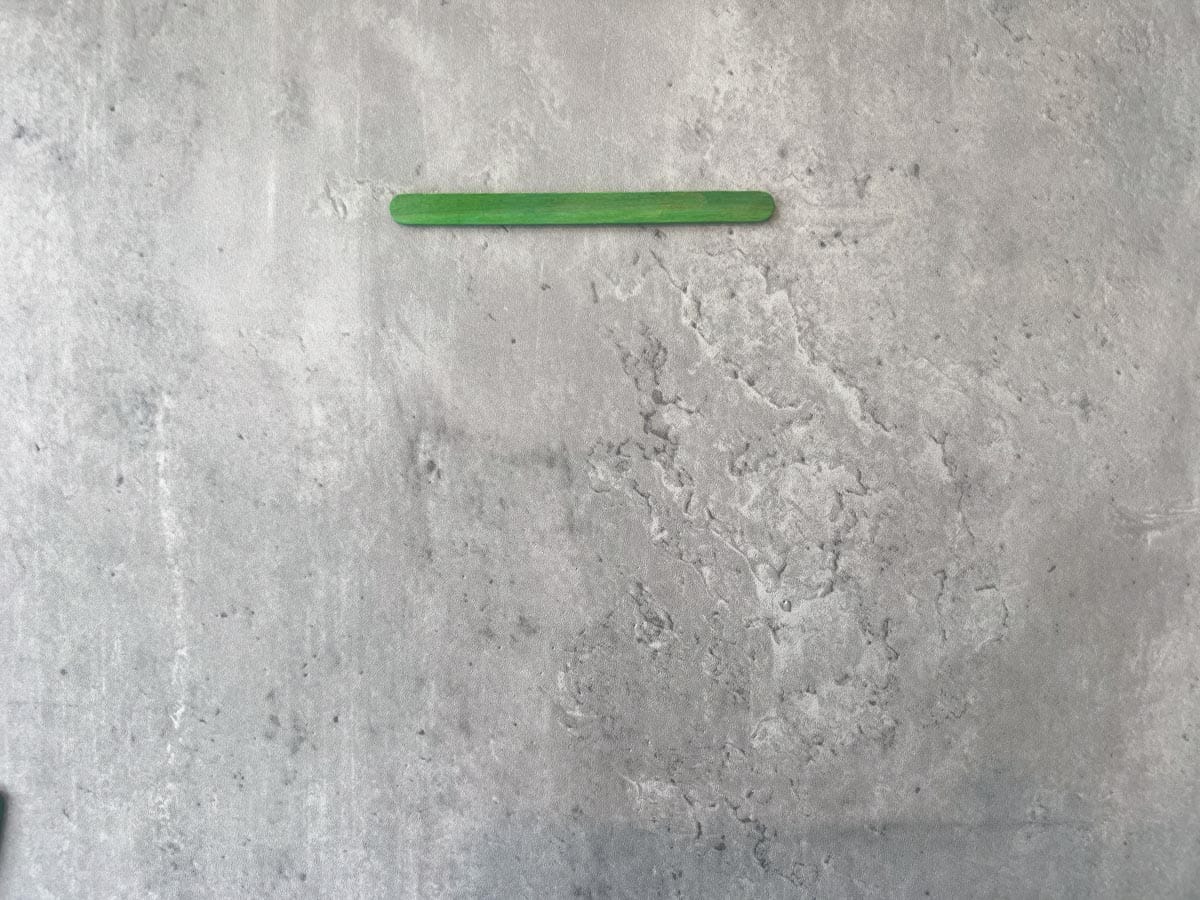
Then another: “And which way do we go down?” Sam points. “Yes, that side.” One more stick, angled to the left. “And now across.”
A familiar shape begins to appear. No pencil. No struggle. Just quiet satisfaction.
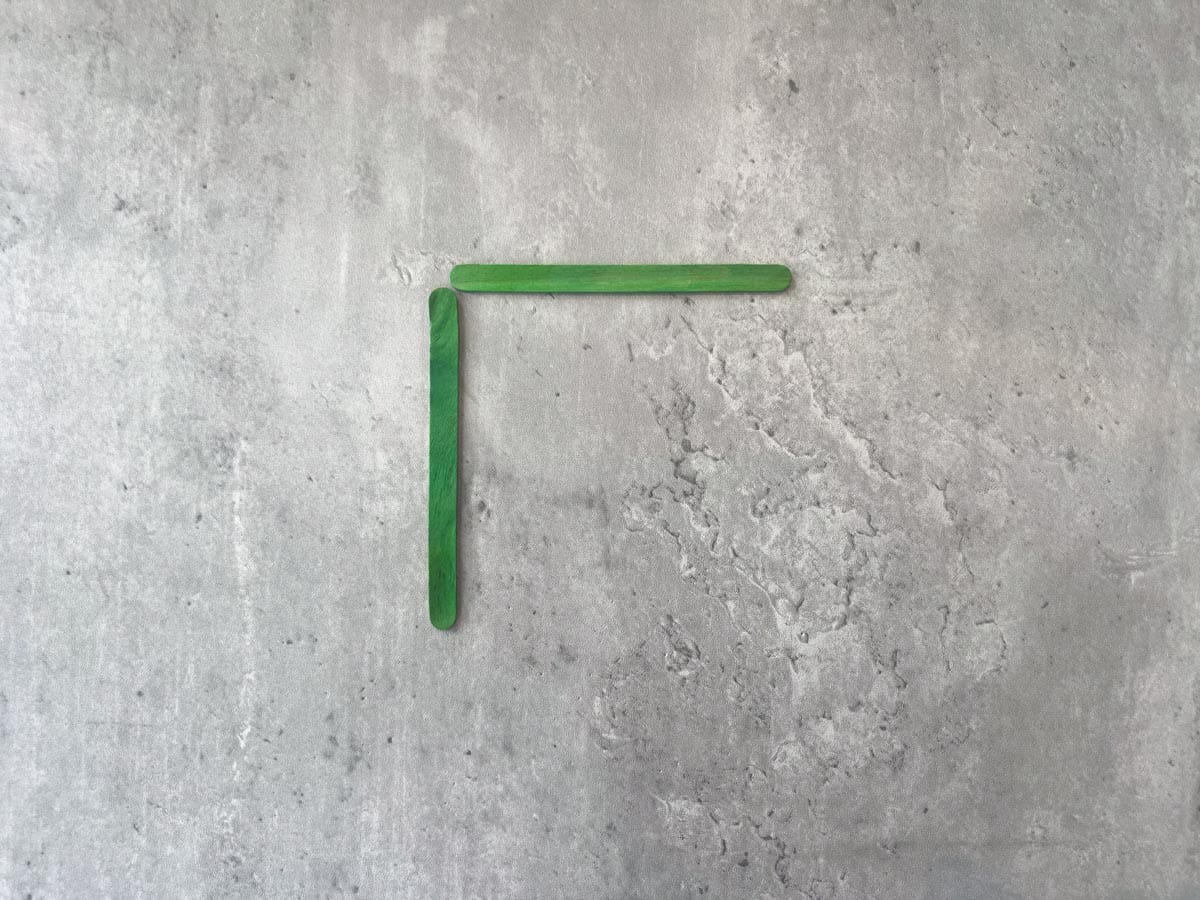
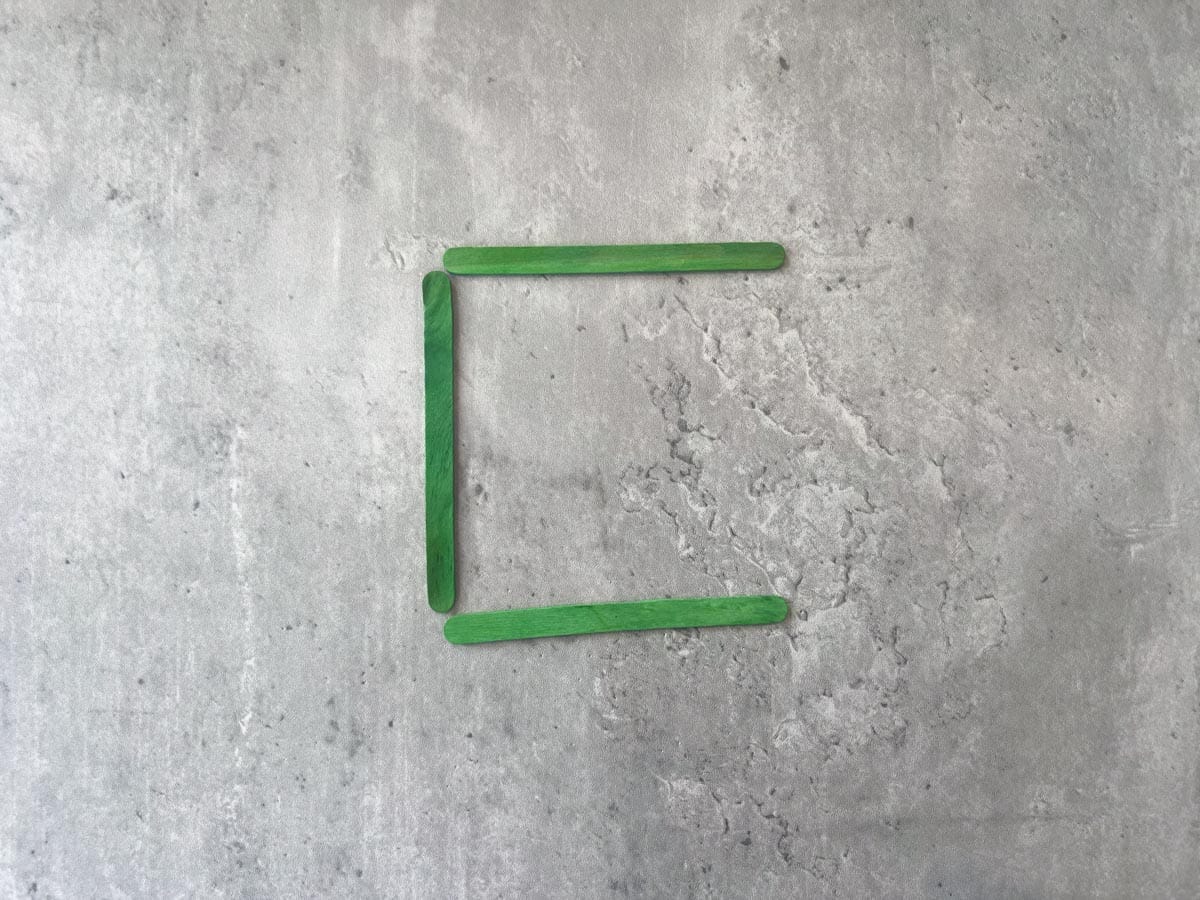
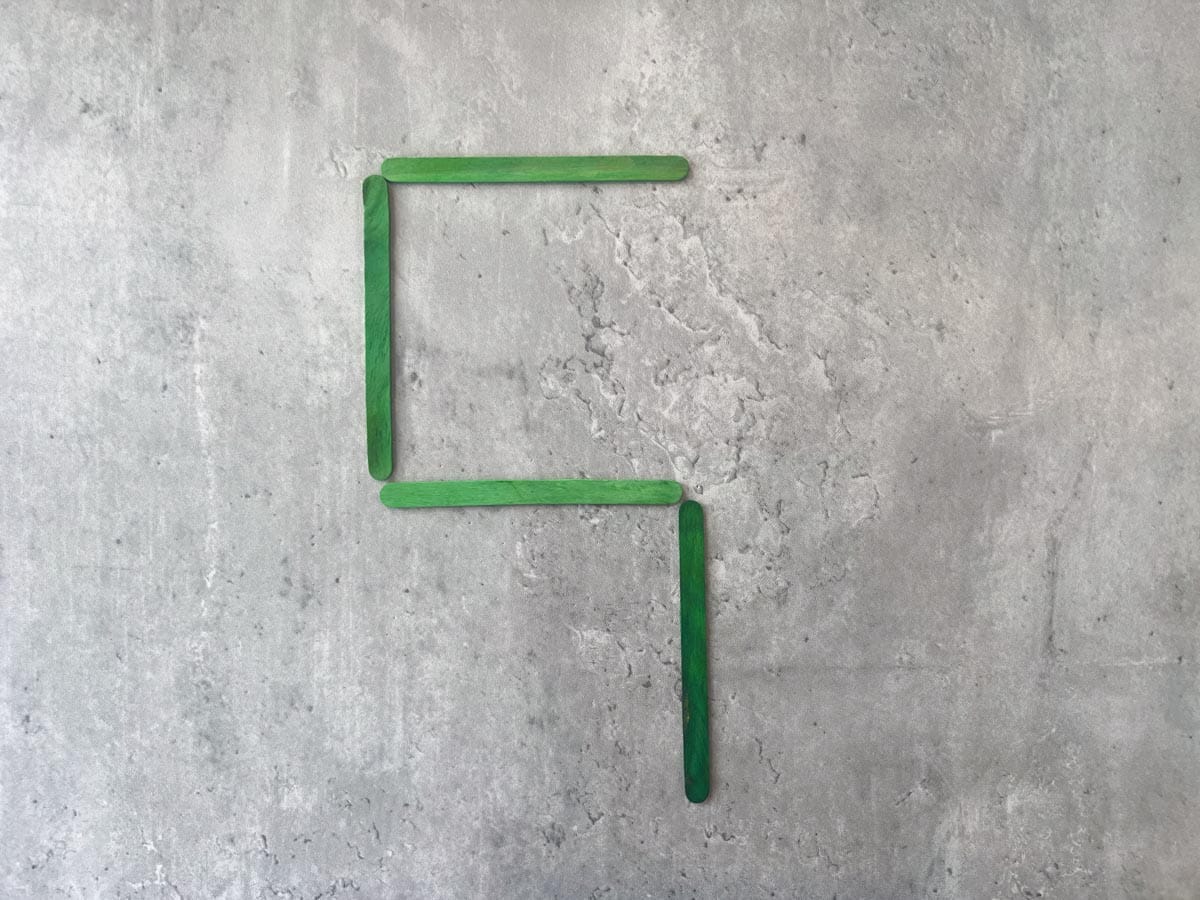
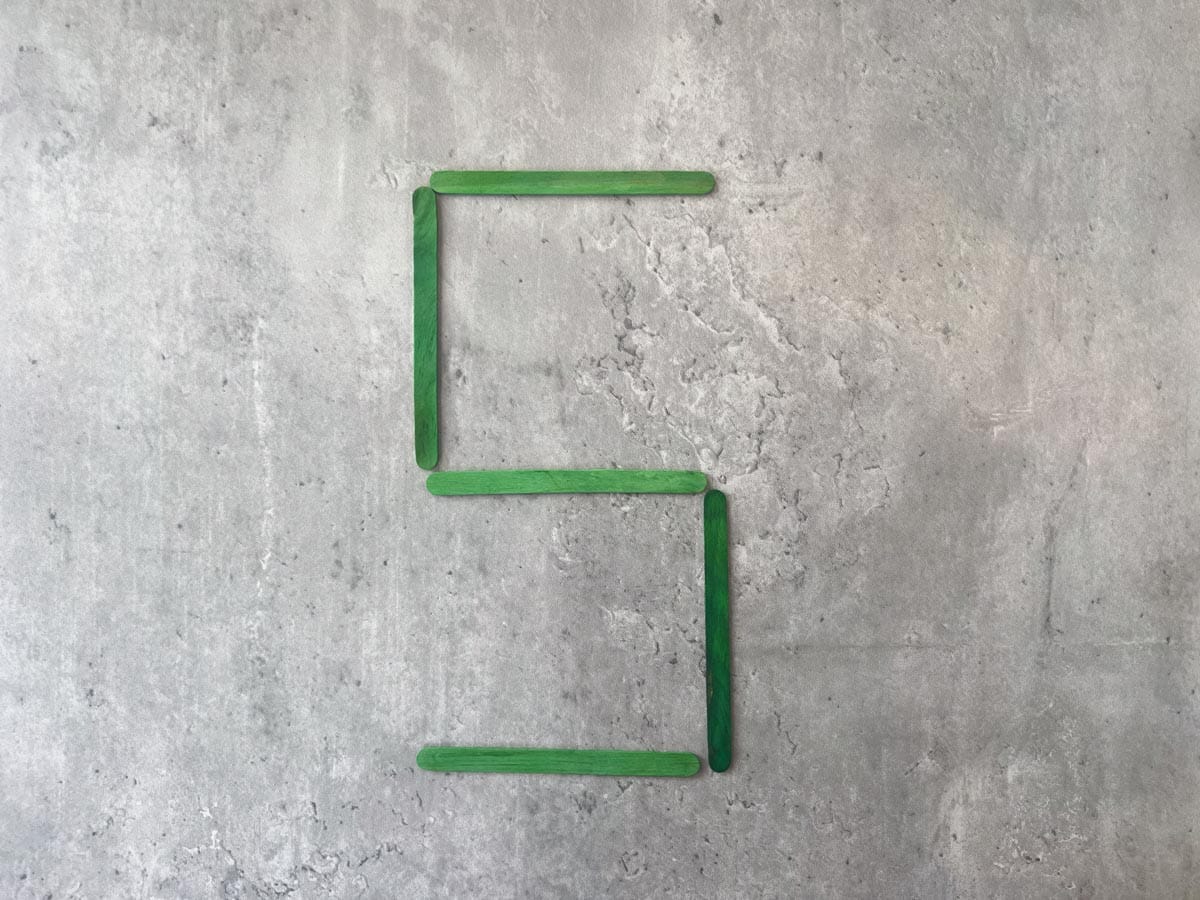
Writing letters with a pencil asks too much of Sam right now. The curves of an ‘S’, the angles of an ‘A’, the peaks and points of an ‘M’ – they all demand more hand control than he yet has. But with sticks, it becomes a puzzle he can solve.
Why arranging materials work
Your child doesn’t need to write letters yet. At this age - 3 or 4 - she’s still learning how lines work. Straight ones. Curved ones. Lines that cross. Lines that go next to each other or over each other. Lines that sit on top, under, or inside.
So before she writes with a pencil, help her understand what letters are.
Letters are made of parts. And those parts follow patterns. When you give your child matchsticks, twigs, or strips of paper to arrange, she can experiment with those patterns freely. No pressure. No grip. No fear of getting it wrong.
Ask yourself:
- Does your child struggle to form shapes when drawing?
- Is she reversing letters?
- Does she tire quickly or give up when asked to write?
- Do her drawings show ideas, but lack control?
If so, don't worry. It's completely normal. Preschool is early to start writing. But that doesn't mean we can't put the building blocks in place.
Your child simply needs more experience seeing and building shapes before she tries to draw them.
Why this approach builds confidence
It removes the tricky parts. Using matchsticks or twigs allows your child to focus on placement, shape and orientation without the added challenge of pencil grip and fine motor control.
It lets her pause and think. She can move a stick, stand back, adjust a line. No erasers, no smudges. Just space to think.
It builds visual memory. Arranging pieces helps your child recognise what makes an ‘A’ an ‘A’ - even if she can’t yet draw one.
It removes the fear of failure. Get a line wrong? Just move it. Try again. Nothing is lost.
It prepares her for writing. She’s developing spatial reasoning, pattern recognition, and problem-solving - the foundations of handwriting and maths.
A note from history
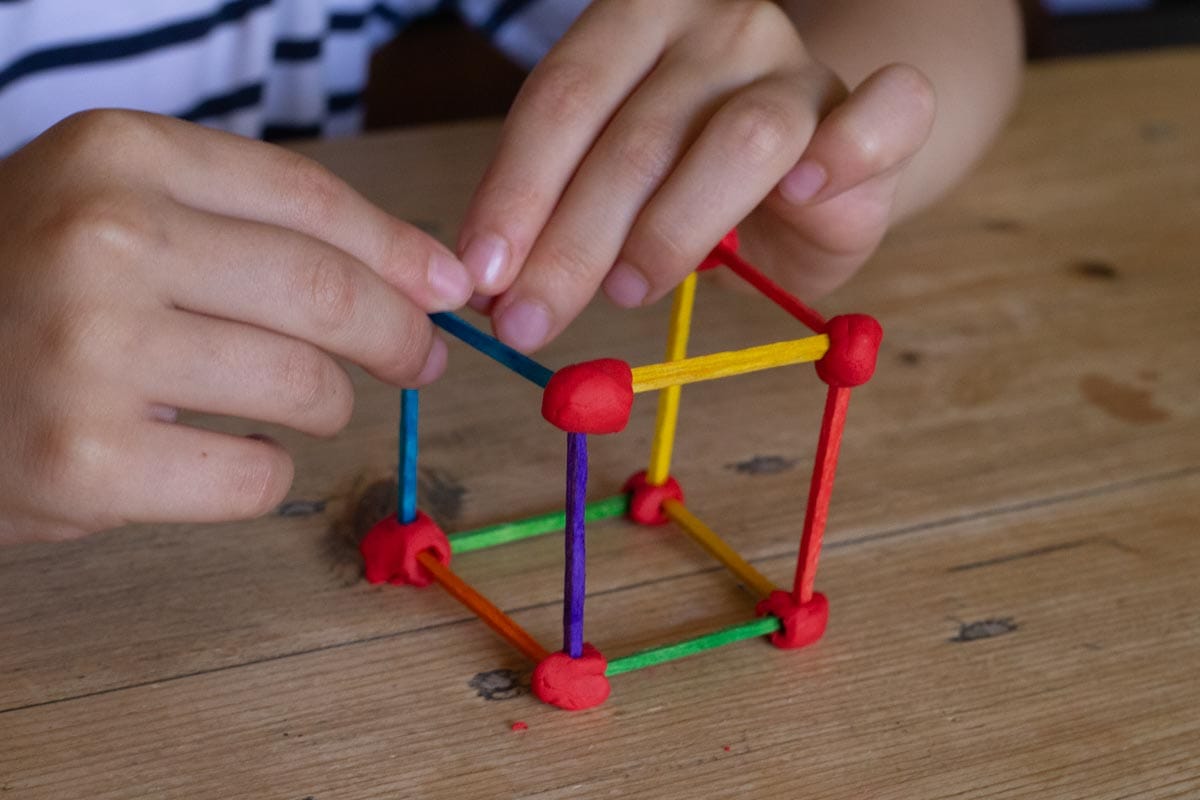
This method isn’t new. In the 1800s, Friedrich Froebel gave children sticks and peas to build shapes and patterns. His goal? To help them see mathematical relationships before they could name or measure them.
Modern research echoes this. Children who play with shapes and spatial materials develop stronger reasoning skills in maths and science. And it all begins with placing one stick and then another.
Try it yourself. Find some plasticine and see what you can create.
The developmental arc
Even babies engage in a form of arranging. Ben, aged 8 months, will soon learn to place one block on top of another. He is learning to pick up, decide, and put - a process that underpins all mark-making.
Once children begin to make purposeful marks, they experiment with connection and proximity.
As your child's confidence grows, arranging involves a series of increasingly sophisticated spatial decisions:
- Single lines. Laying sticks end to end.
- Intersections. Creating crosses and stars.
- Angles. Joining two sticks to make a corner.
- Enclosure. Forming closed shapes like squares and triangles.
- Composition. Using shapes to represent real things.
Explore Elmwood
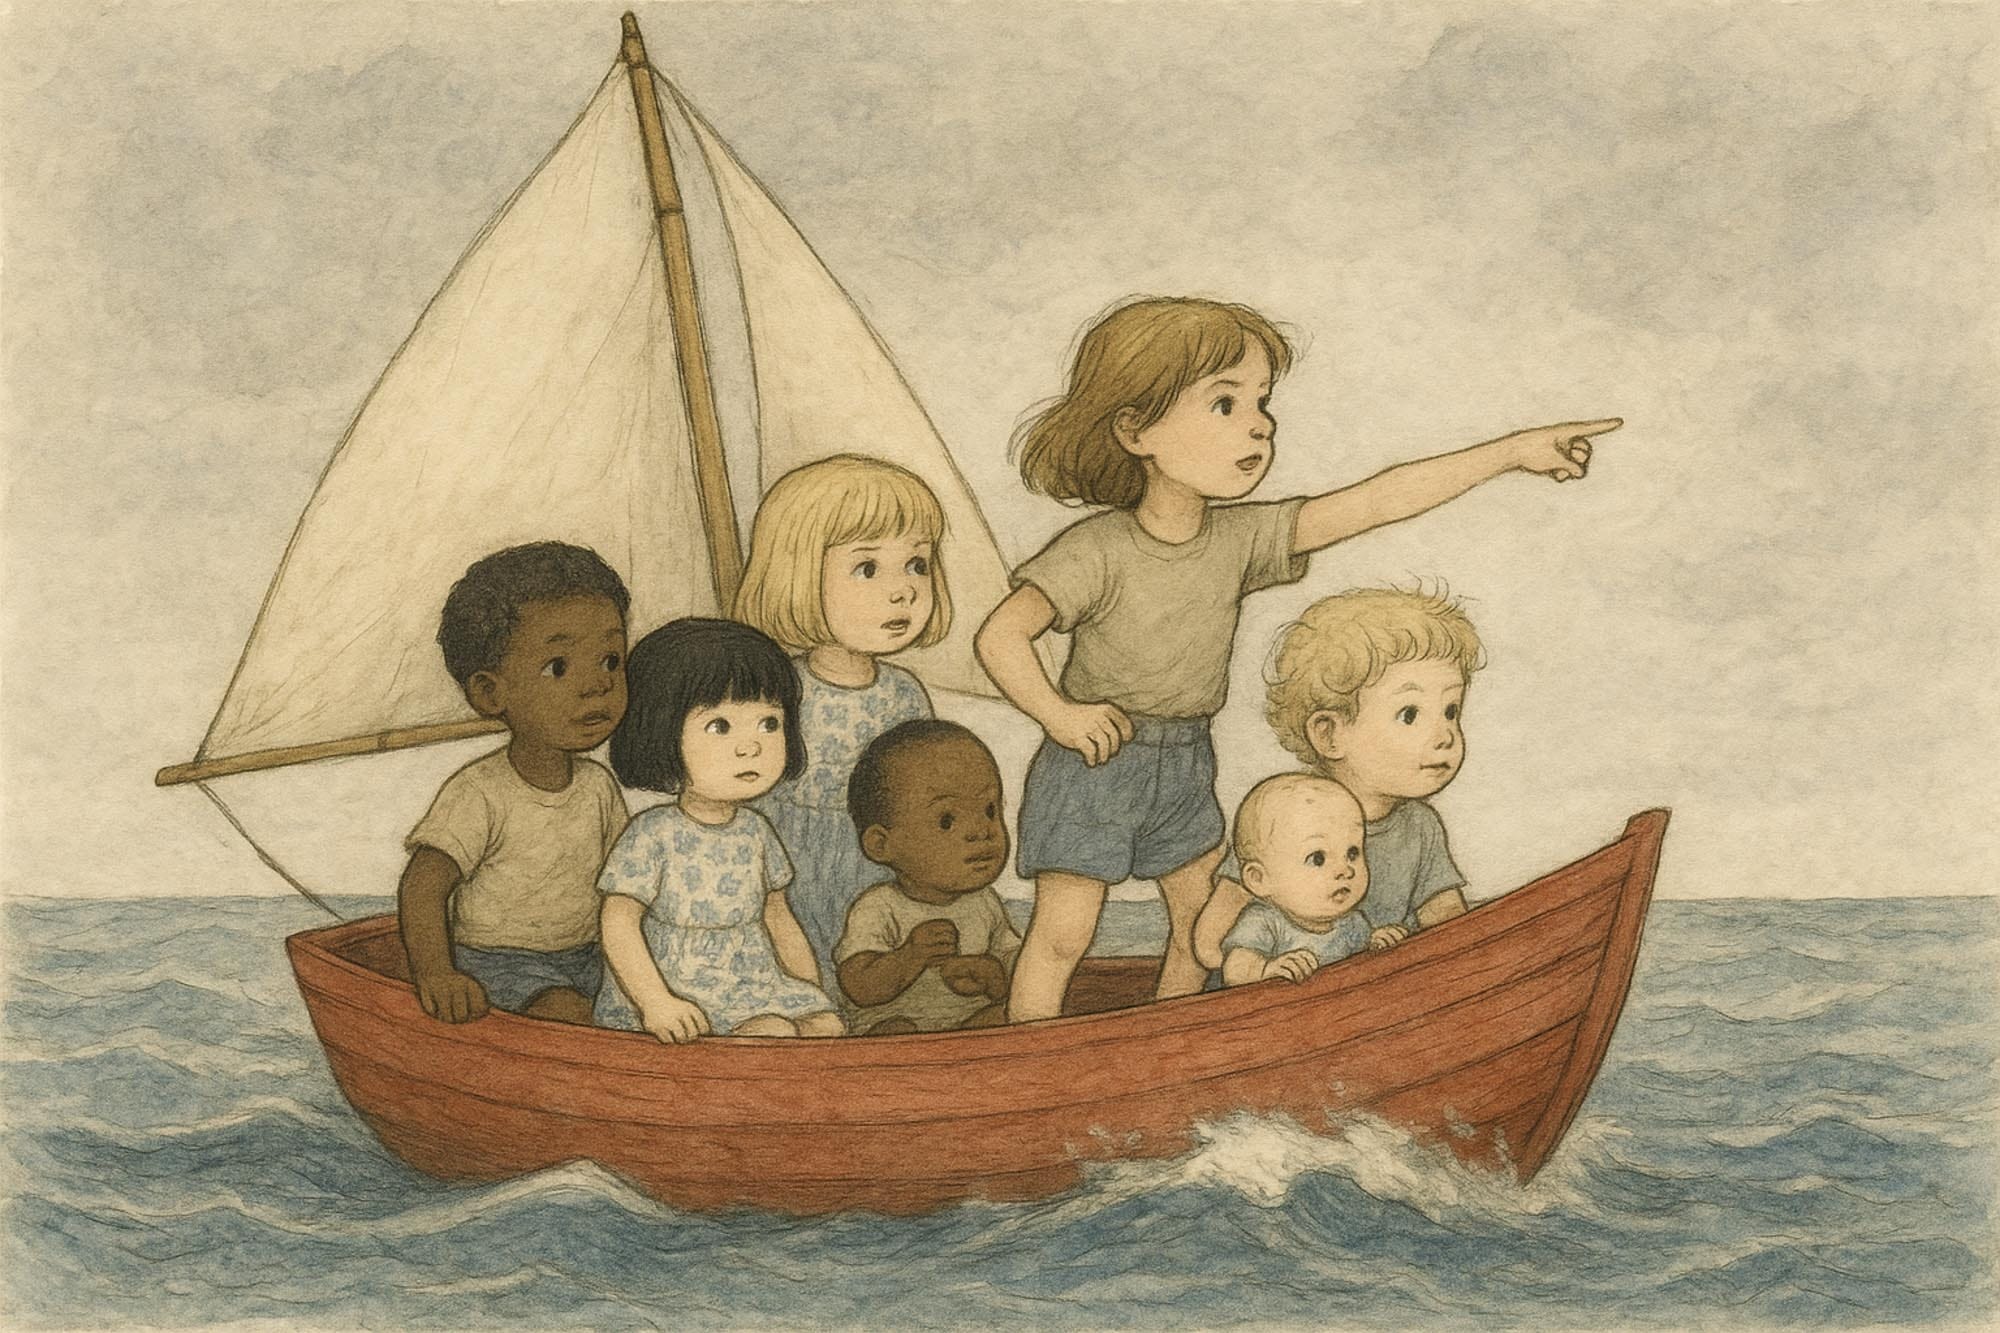
The children of Elmwood are your companions this journey through childhood. Read more about them and the town they live in here:
Elmwood: a parent's guide | A tour of Elmwood | Meet the The Children of Elmwood | Meet Sam | Oh! The places you'll go!
Matchstick pictures
By late May, cherry blossom season has passed in Elmwood, but the garden is still full of treasures. Dandelion clocks, tiny daisies, blades of grass, fallen petals from early roses - all can be part of your child’s first foray into line and pattern.
Natural materials are nice, but pencils, spaghetti - anything you can get your hands on - work just as well.
I find it easier just to buy a bag of 1000 matchsticks and keep them in the craft trolley. The children find all kinds of creative uses for them, from cages and bridges to clay tools and collage.
Step 1: play with lines
Lay out the sticks and let your child play.
No instructions. No letters. Just time and freedom.
She might make squares, triangles, circles. She might build a house with a square and a triangle. A sun with rays. A tree. A stick figure. A road.
Let her surprise you.
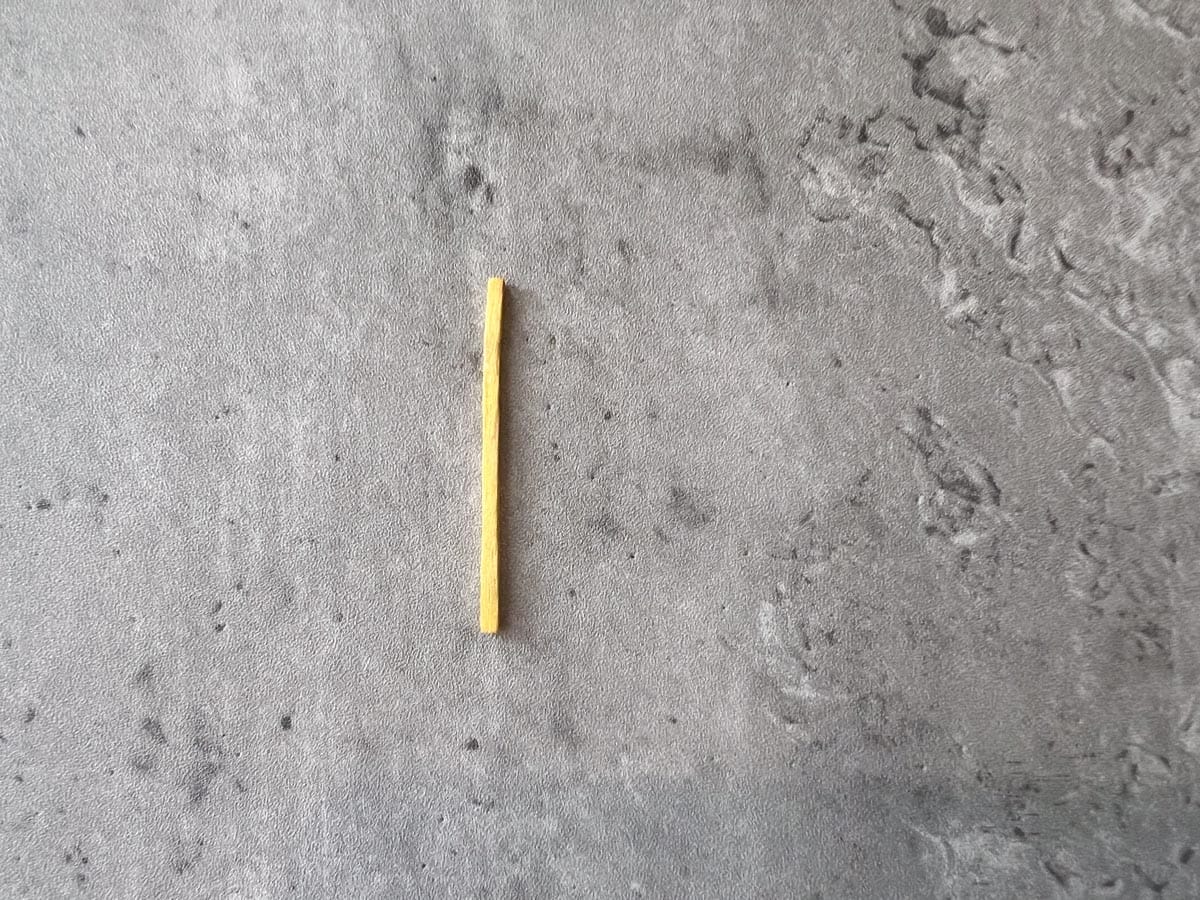
Start with a single stick.
Already there is meaning. A mark where there was nothing before.
It's a 'one', a person, an arrow.
It's the essence of mark making. A simple line.
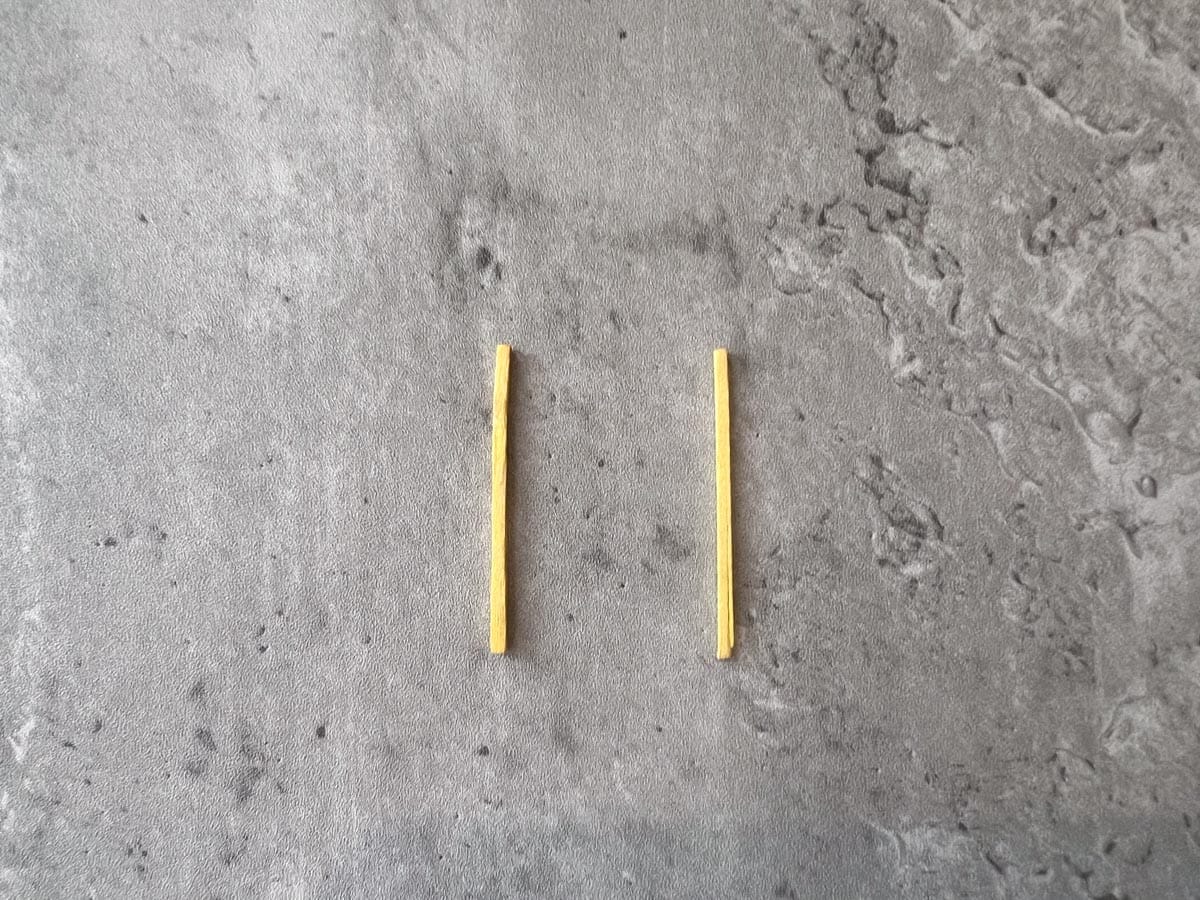
Now add a second. You have created a relationship. Next to, parallel to, but not touching.
Not very interesting?
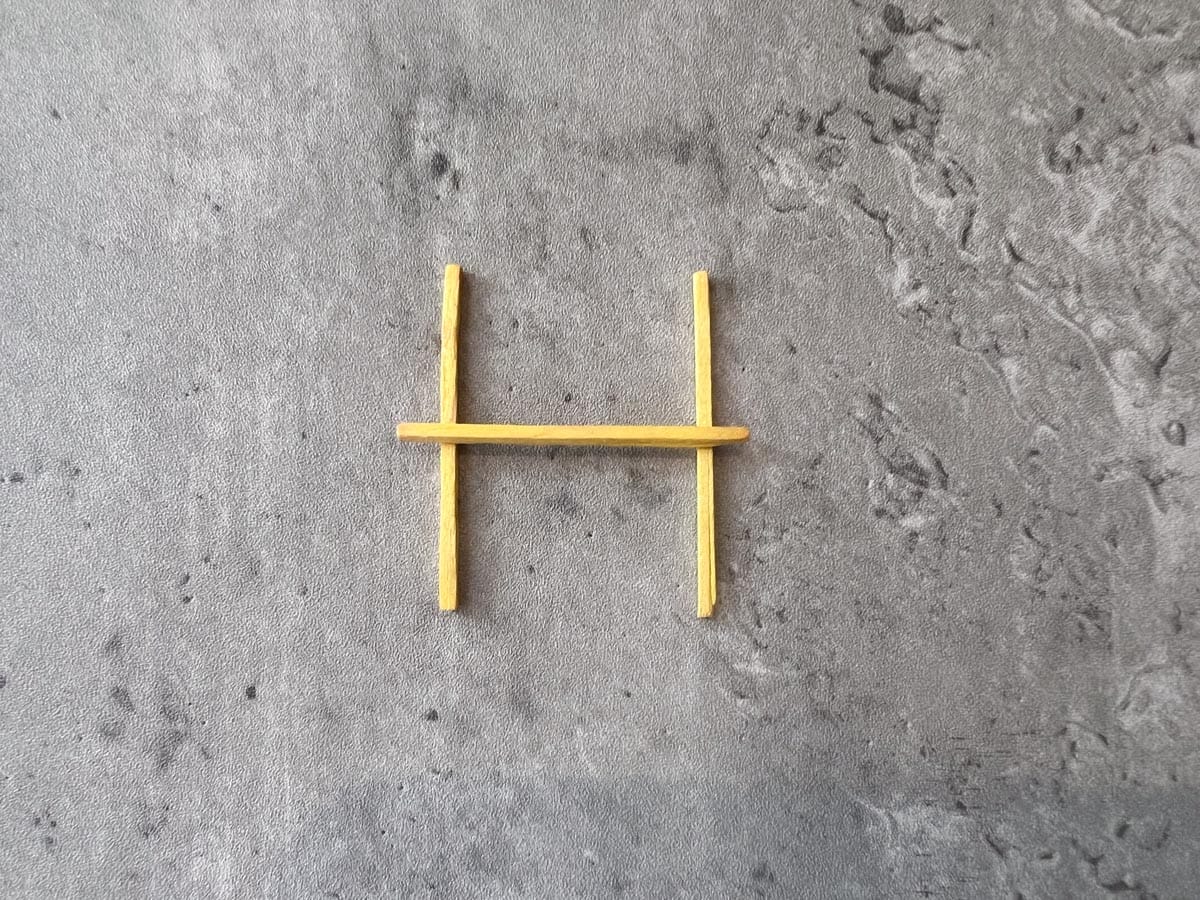
Add a third one and lay it across the others.
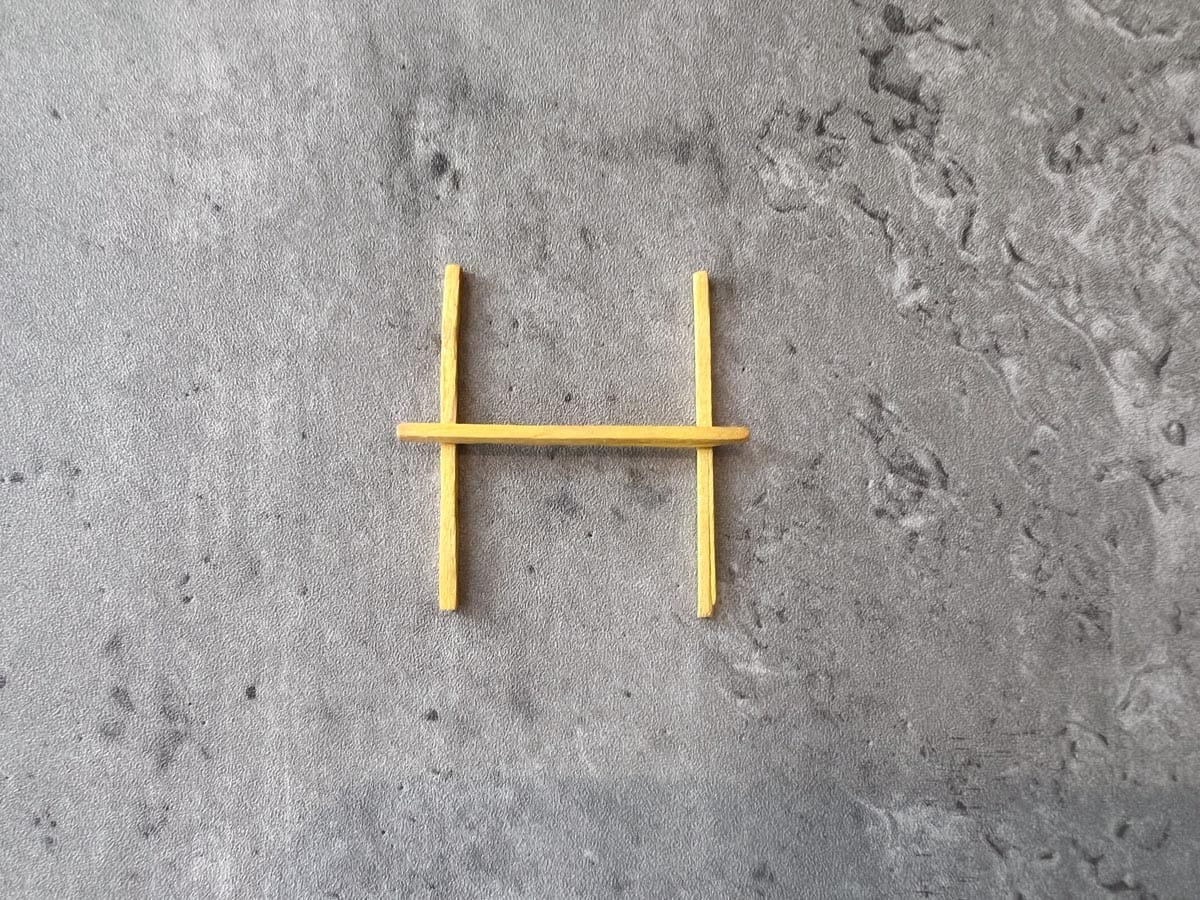
Down, down, across! as my second son used to say when he was Sam's age. That's my name!
Step 2: from lines to shapes
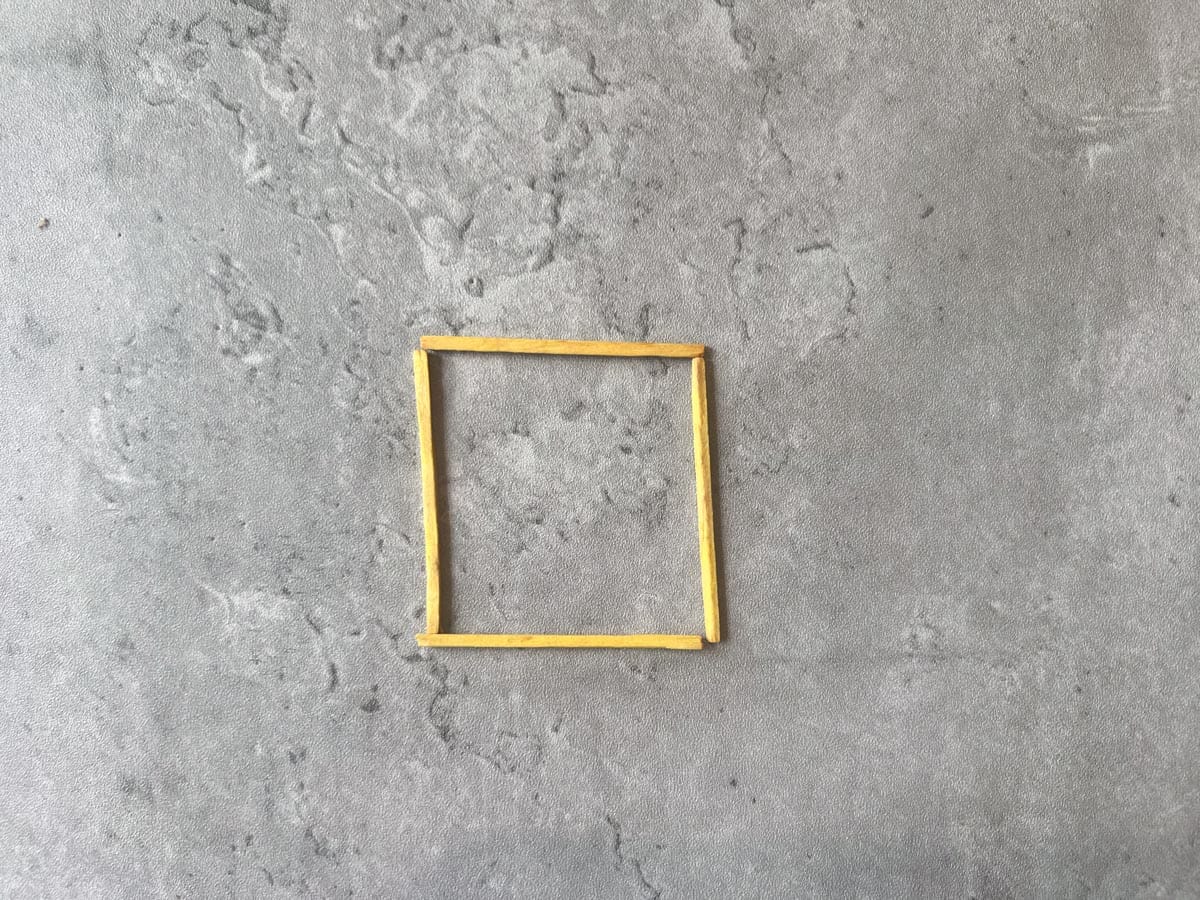
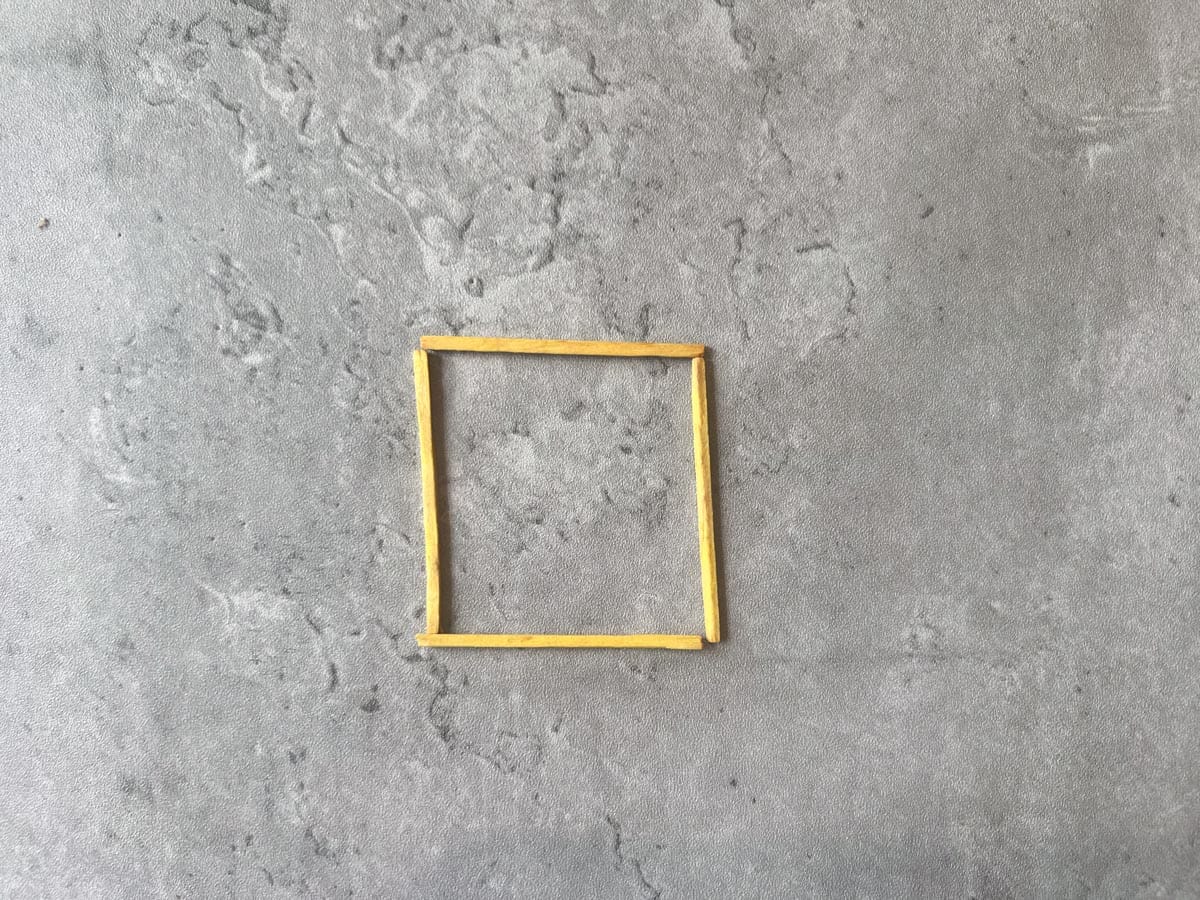
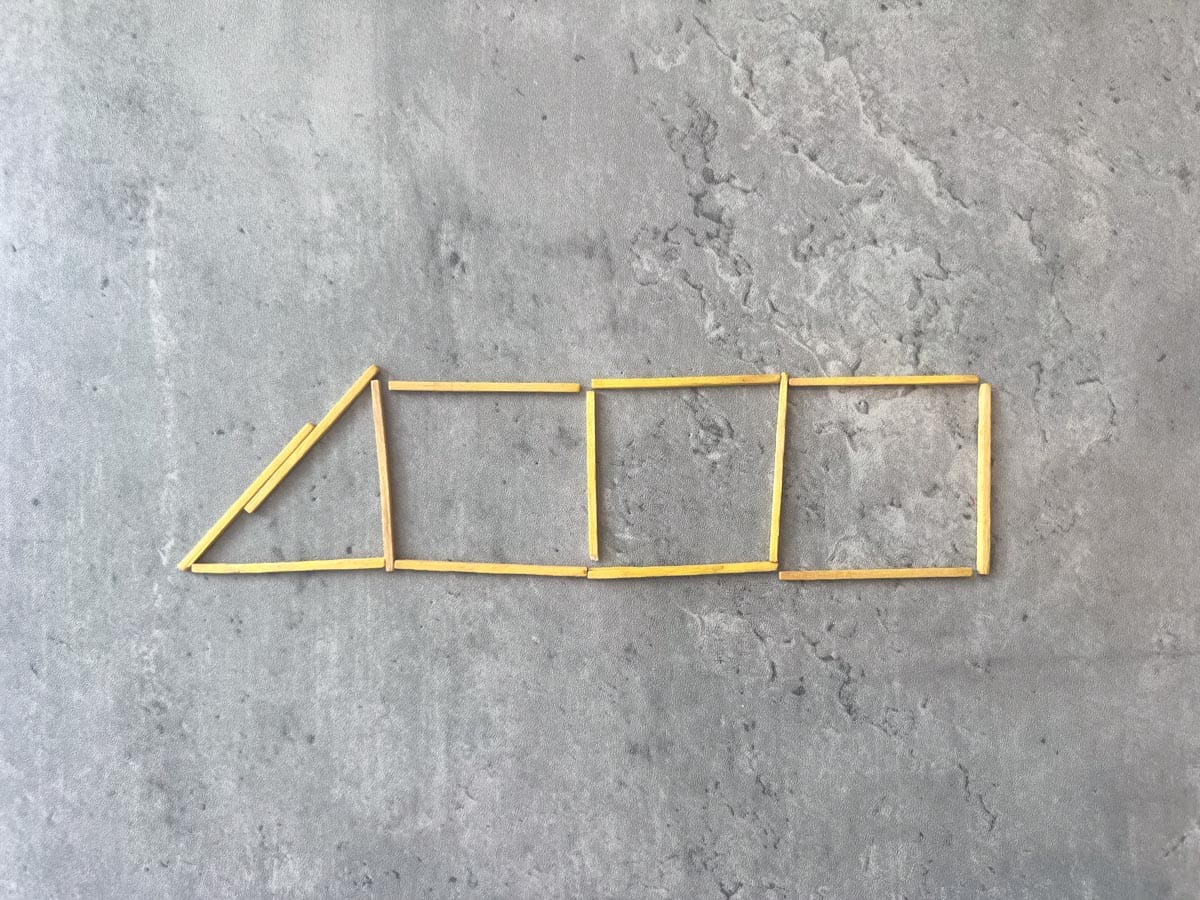
Now add a fourth. Slide one up, and one down and you have a square.
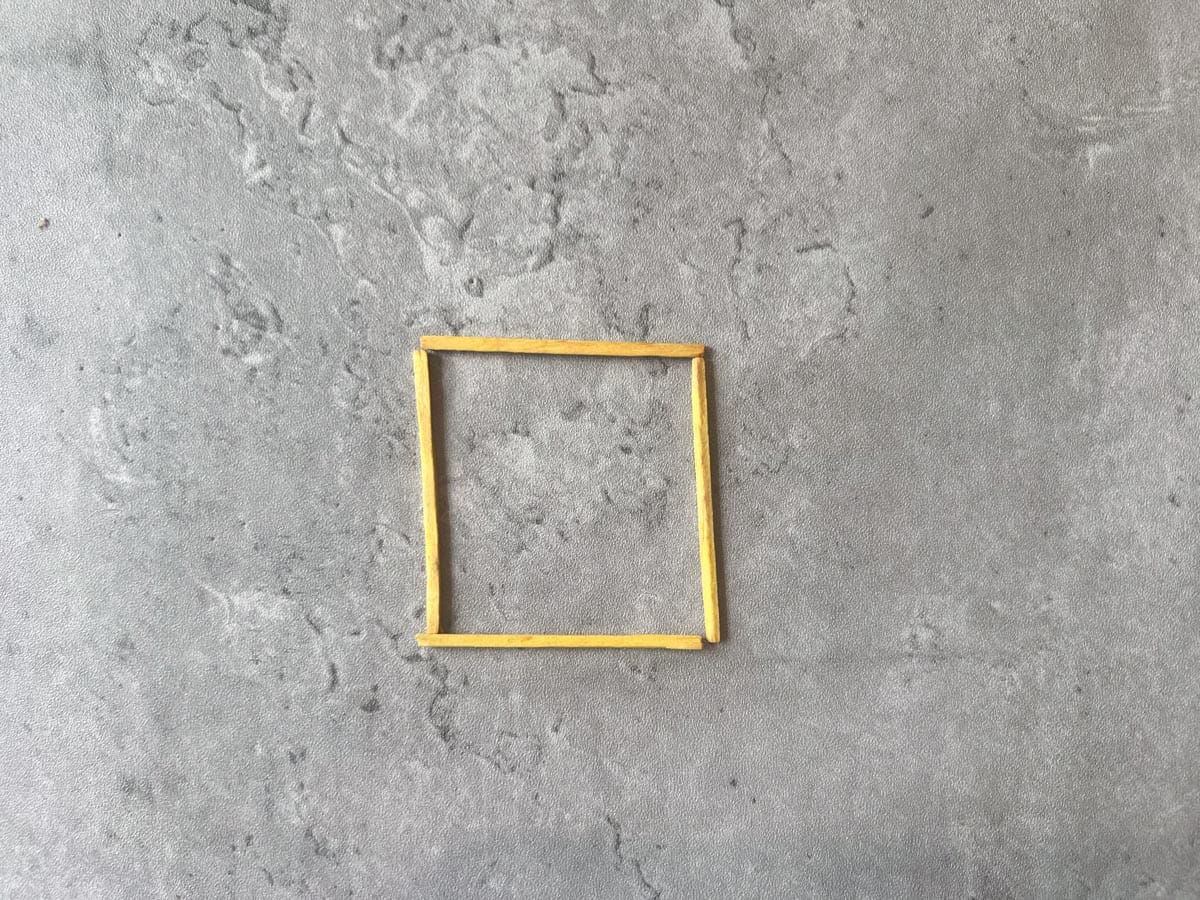
And from a square you only need a fifth stick to make several more letters.
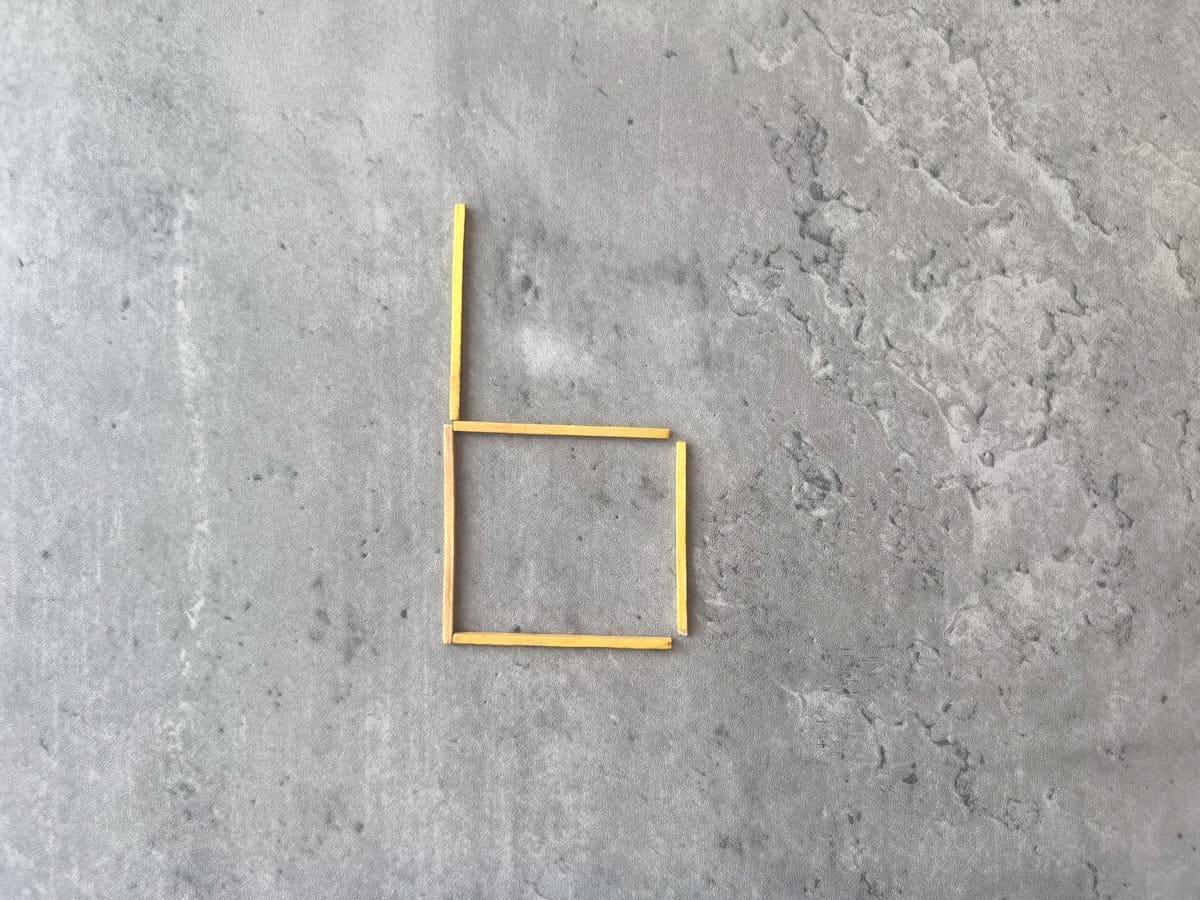
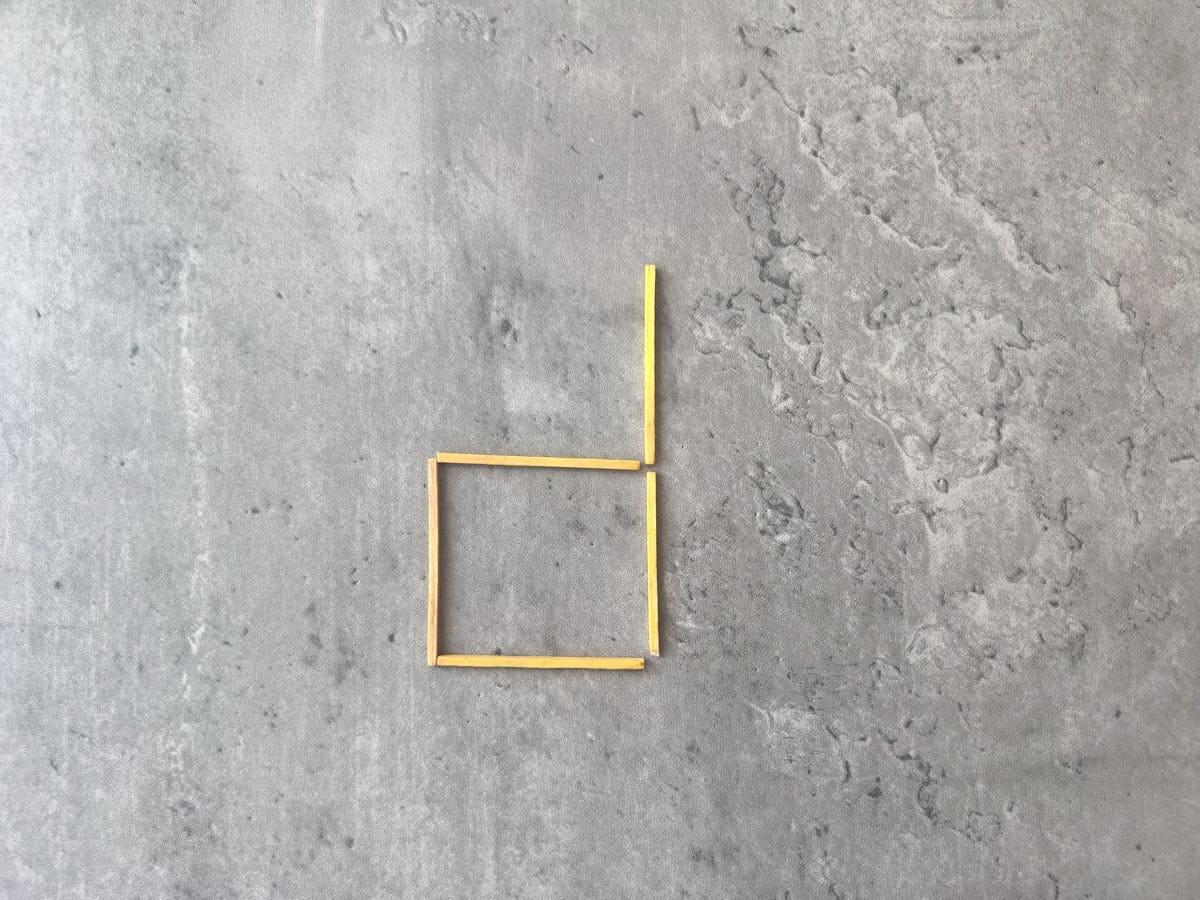
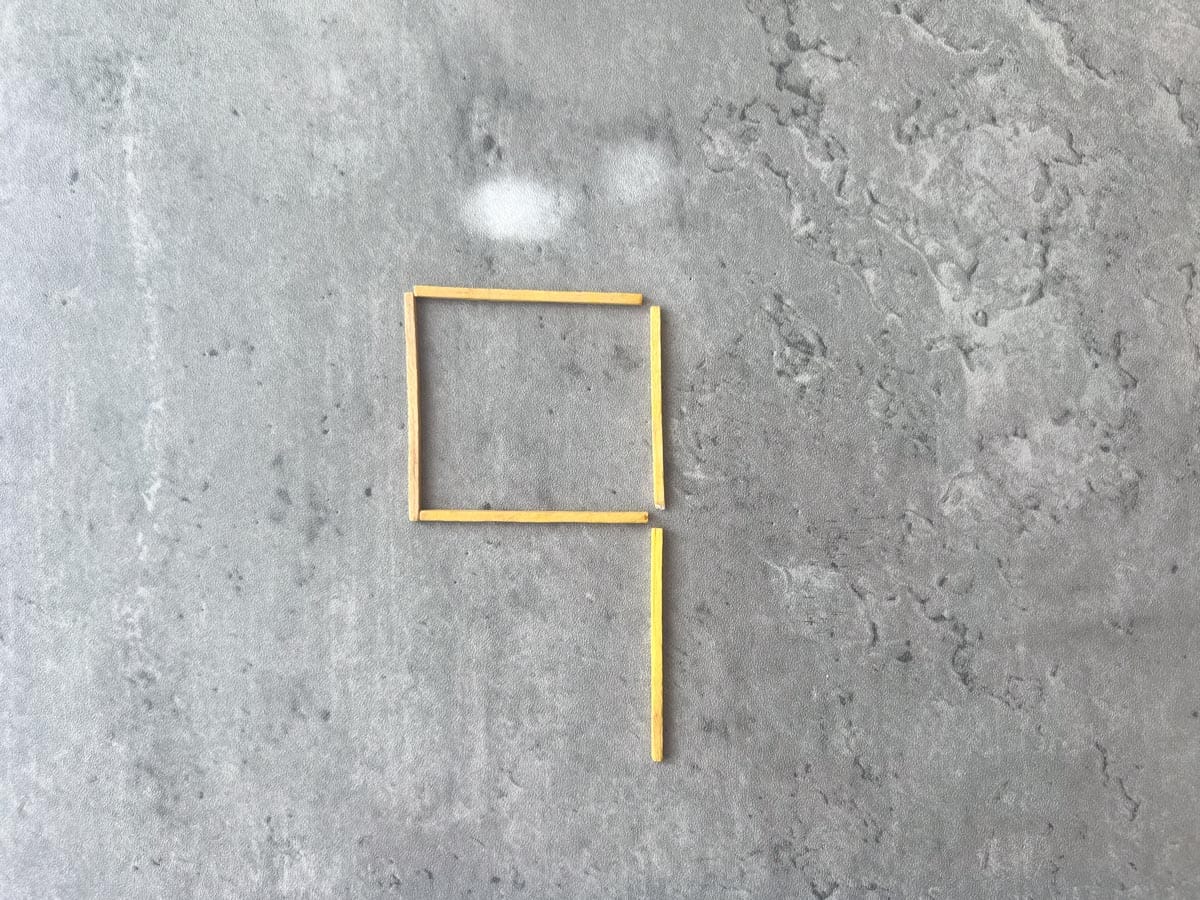
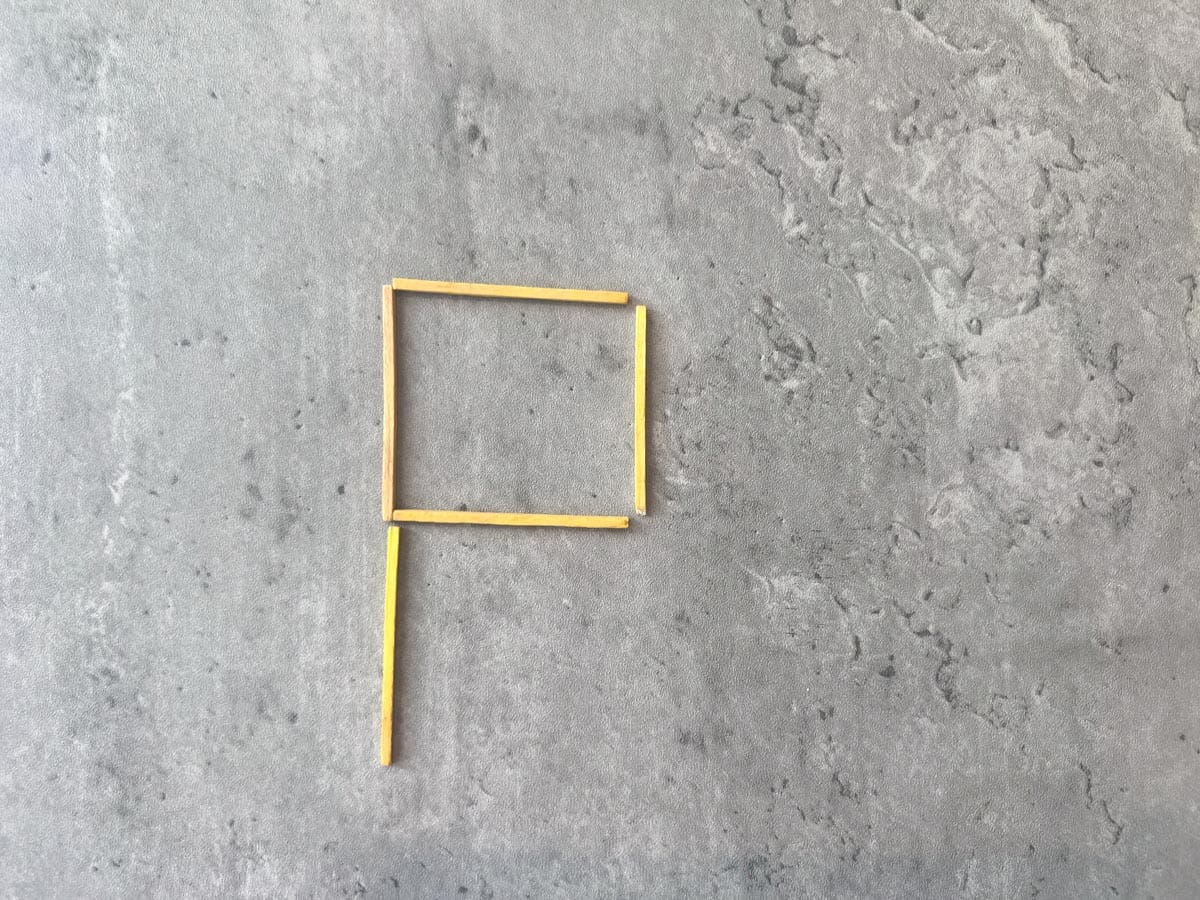
See how it goes? We start with a simple shape, memorise it, and build from there.
Step 3: From shapes to patterns
Patterns are foundational.
Everything else is built on top.
They teach children to make and test predictions.
To extend my train, I think I have to add four matchsticks to make another square. No! That's not right. I only need three. The square doesn't need its left side because it attaches to the existing carriage.
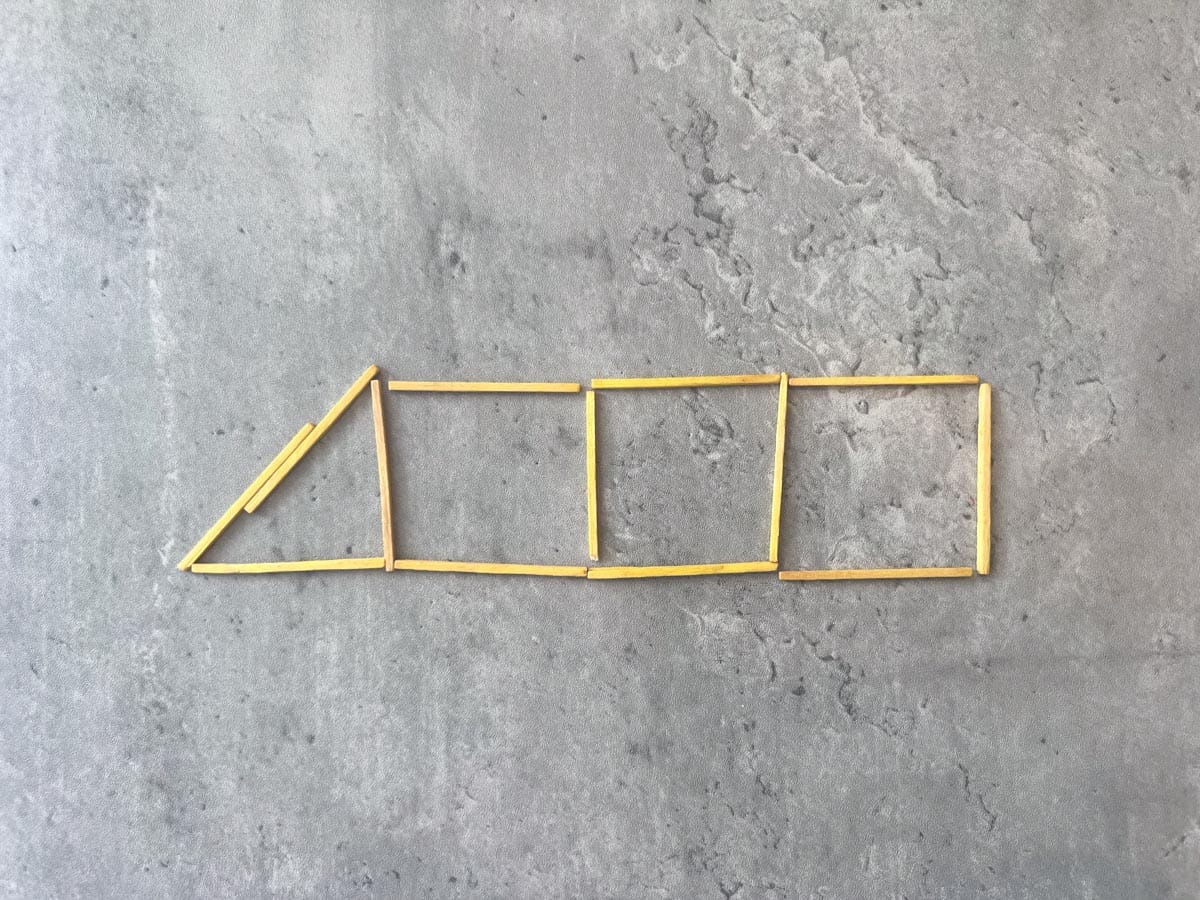
This is the beginning of if-then thinking.
That kind of thinking – if I do this, then that will happen – is the basis of logic.
If I want to add a square to an existing structure, I only need three matchsticks.
It develops like this:
- Recognition. Your child spots something repeating: colour, shape, size.
- Reproduction. She tries to copy it.
- Prediction. She starts to guess what comes next.
- Generalisation. She invents her own rules and tests them.
- Abstraction. She can apply the same logic to other domains: number sequences, cause and effect, even social situations.
By arranging materials into patterns, she’s practising rule-based thinking - which later shows up in maths, reading, science, and coding.
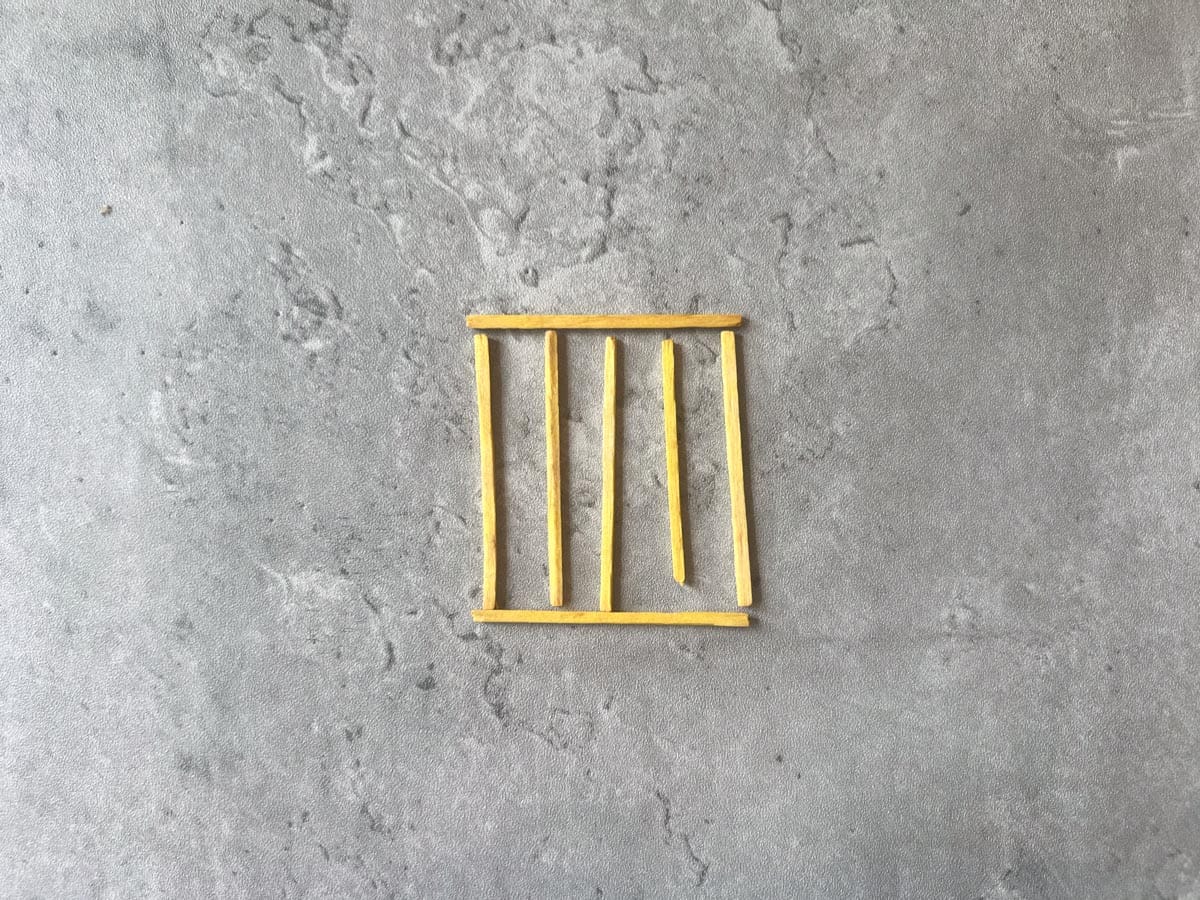
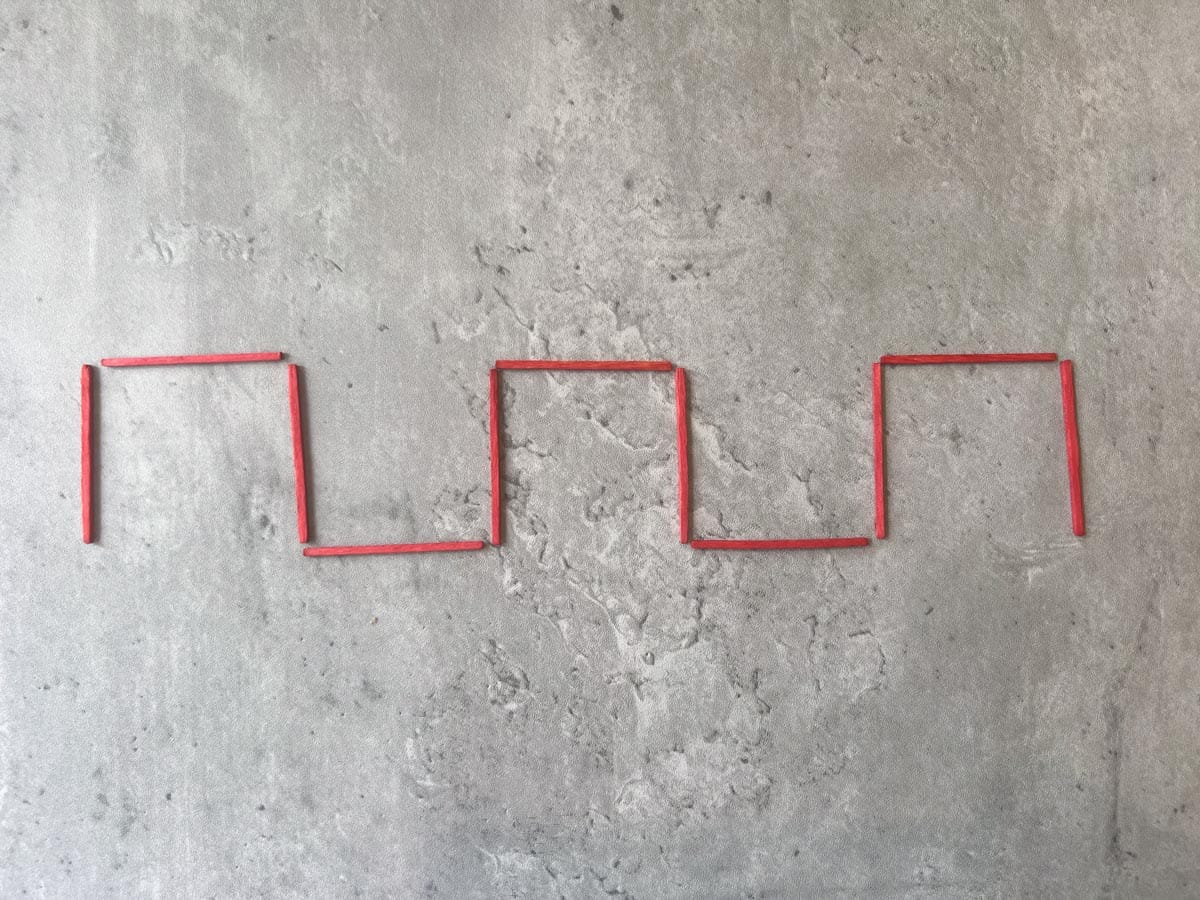
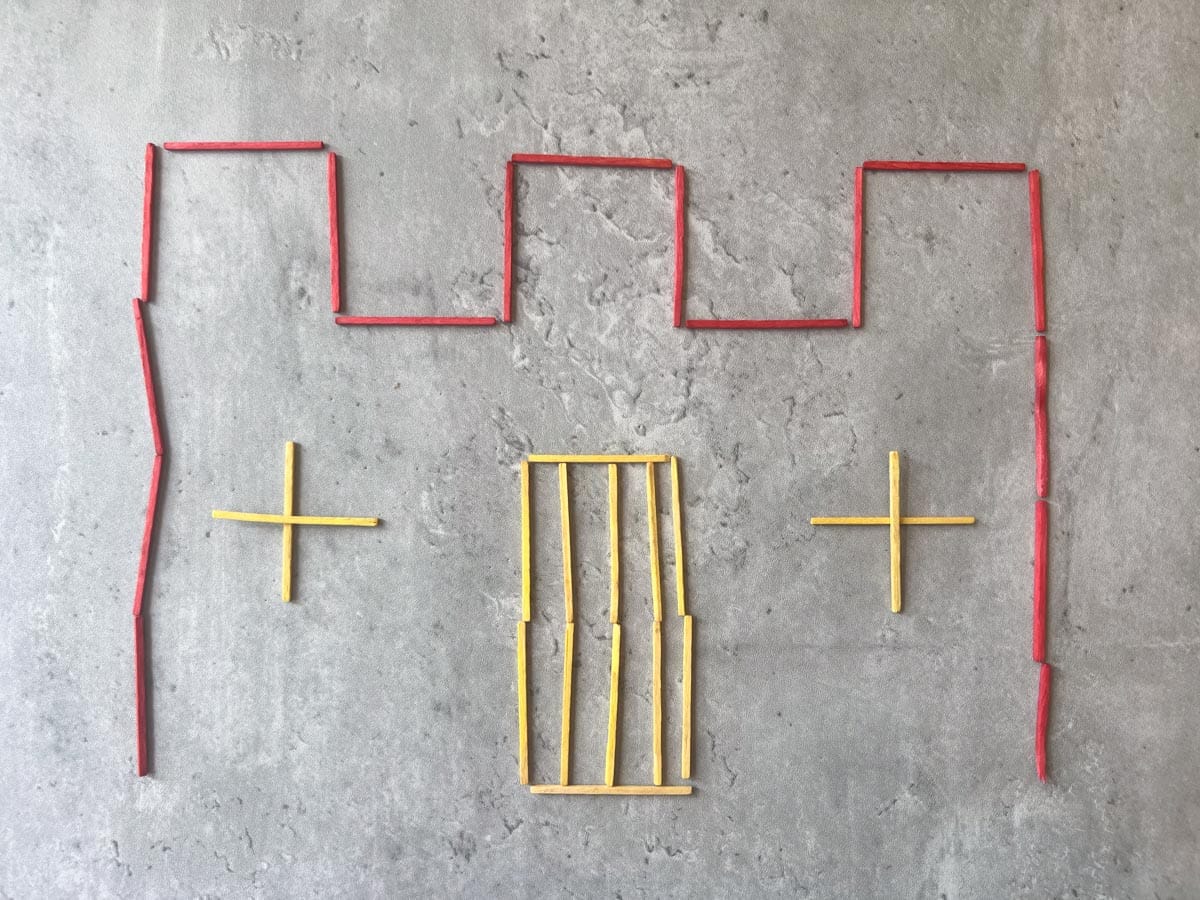
A square with more vertical lines becomes a window with bars - or a drawbridge. A square with one side missing can be joined to another one that's upside down to make an 's' on its side. Join lots of these together and you have battlements!
Step 4: From patterns to logic
When your child builds a fence from repeating lines, she’s not just copying. She’s testing a rule: this shape comes next.
Each addition confirms or challenges that rule. This is the seed of logical thinking - the same process she’ll use to solve equations, debug code, or understand cause and effect.
Pattern teaches prediction. Prediction leads to reasoning. Reasoning becomes logic.
This is why I created StoryChild.
To understand our children's journeys over a decade. Because learning and life can't be compartmentalised.
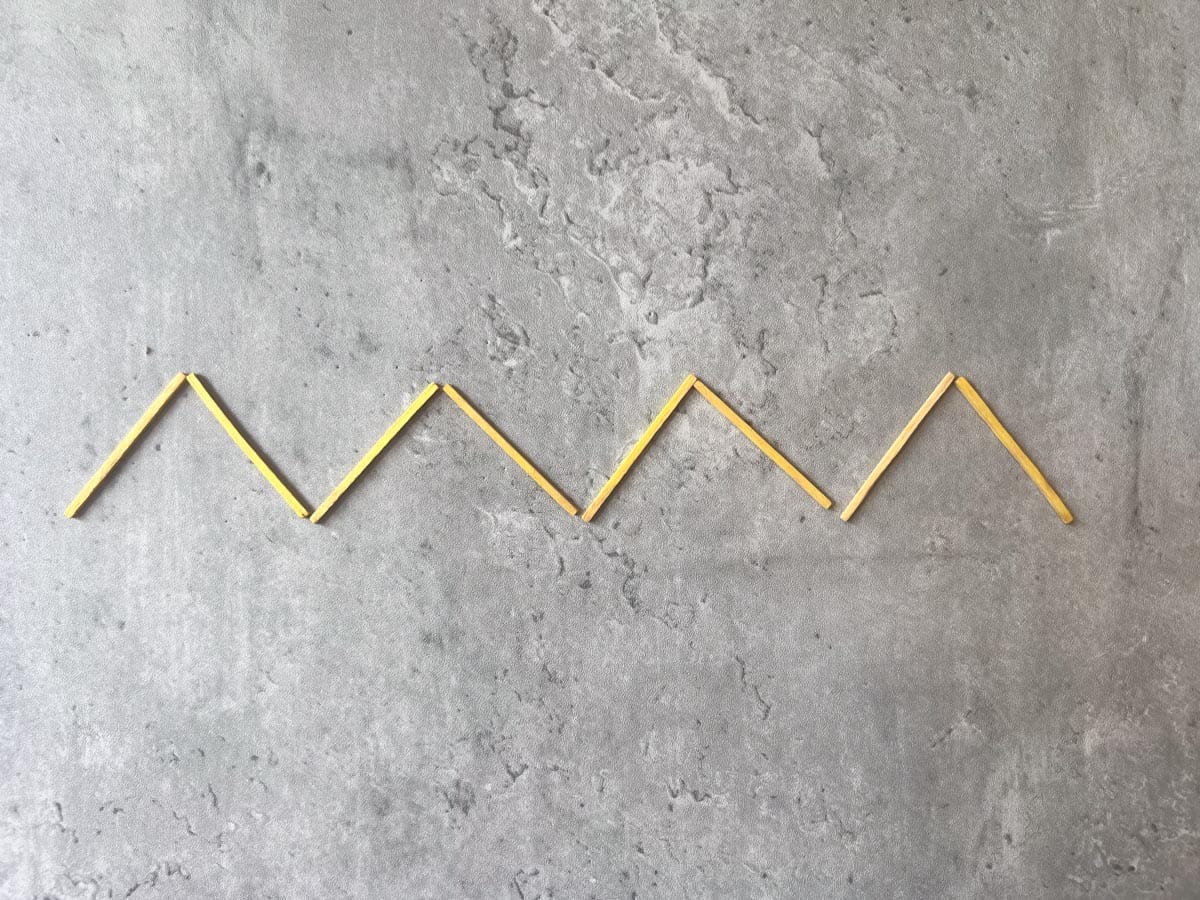
Zig-zags are special
In his research on early mark-making, Professor John Matthews observed that young children often repeat the same movement over and over, not to represent something, but for the sheer joy of the motion. He called the zigzag a “continuous open triangle” – a repeated up-and-down action made with growing control.
As far as I know, he didn't ever use the term “continuous open squares” but when you look at castle battlements, that's exactly what they are. And I'm also laying claim to “continuous open circles”, or waves to you and me.
These aren’t random scribbles. They show that your child is learning how to vary pressure, direction, and rhythm – the foundations of all later drawing and writing.
Tricky with a pencil. Simple with sticks.
Step 5: discoveries
Now you can make patterns, you can extend them and see where they lead.
How do I make a circle with sticks, Daddy?
What shapes can you make so far?
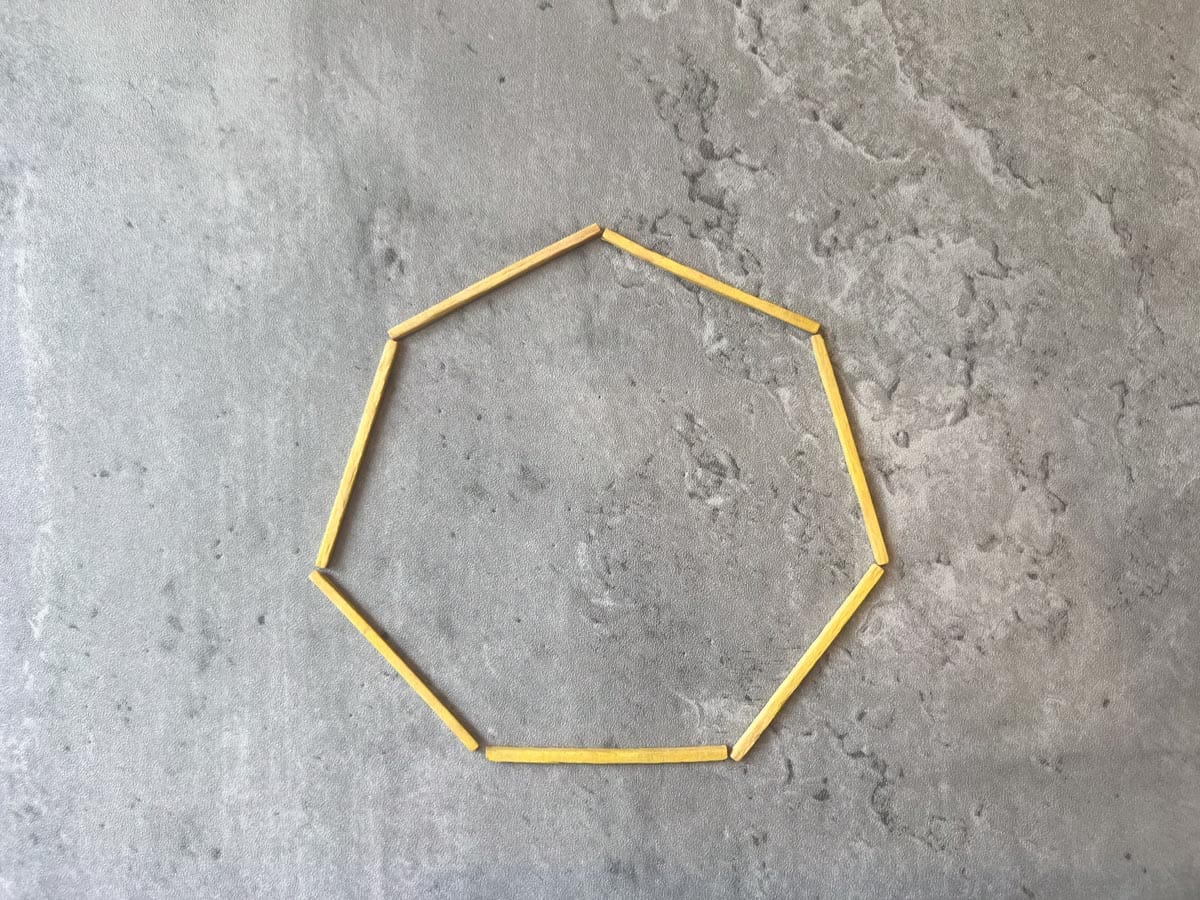
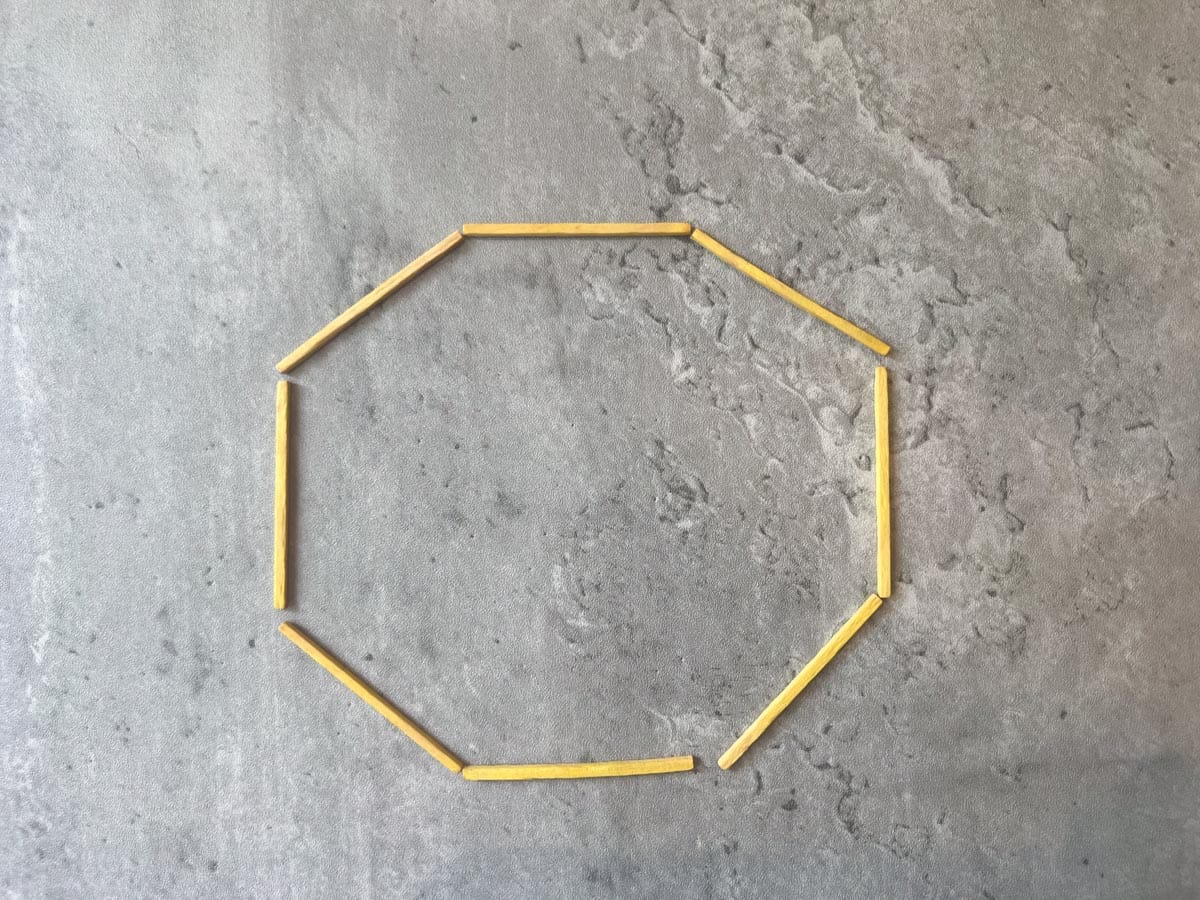
Squares are easy.
That's a good start. Have you tried adding an extra stick? And another one?
Sometimes you have to ask the question. But, more often than not, your child follows a line of inquiry and makes a discovery herself.
The trick is to offer open-ended materials - and time.
If there's noise, distractions, the promise of screens... it won't work.
A calm quiet room is all you need for deep learning.
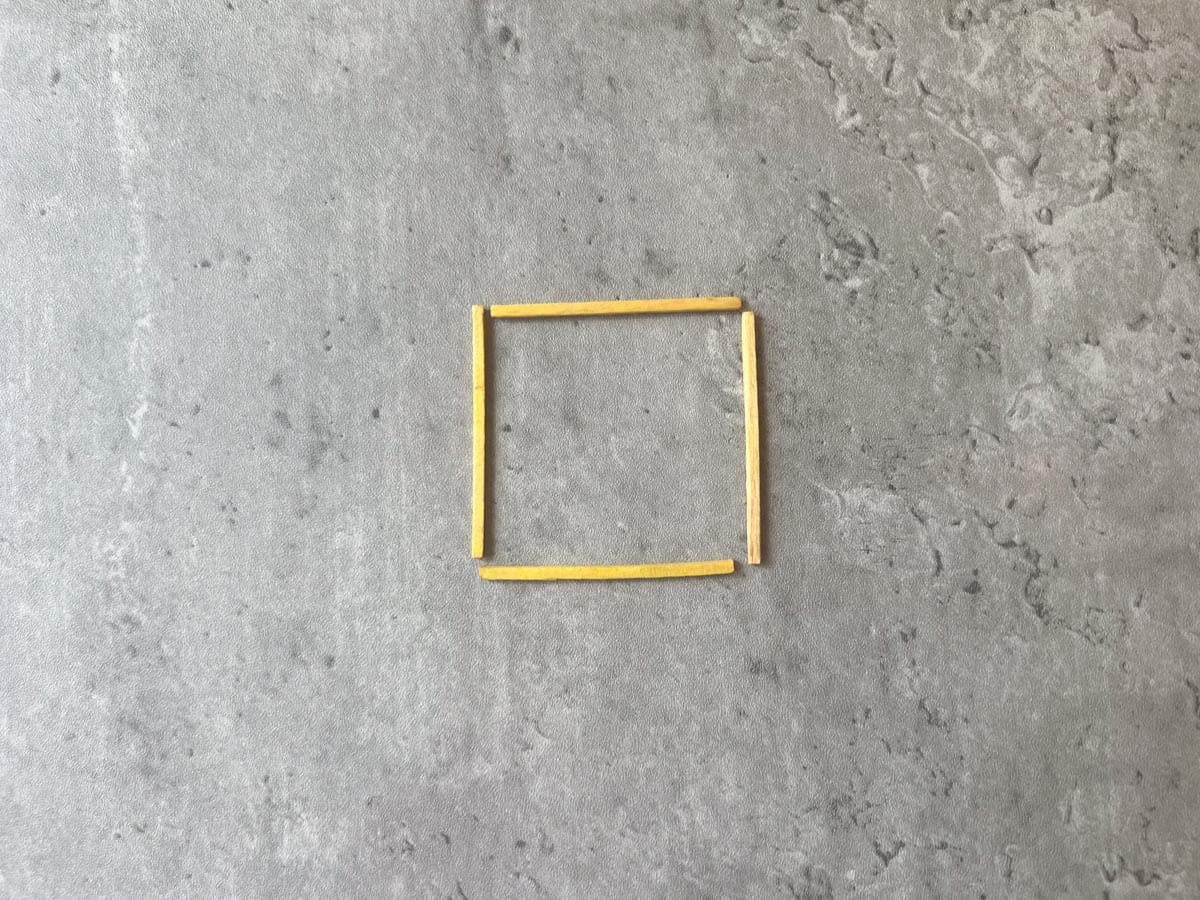
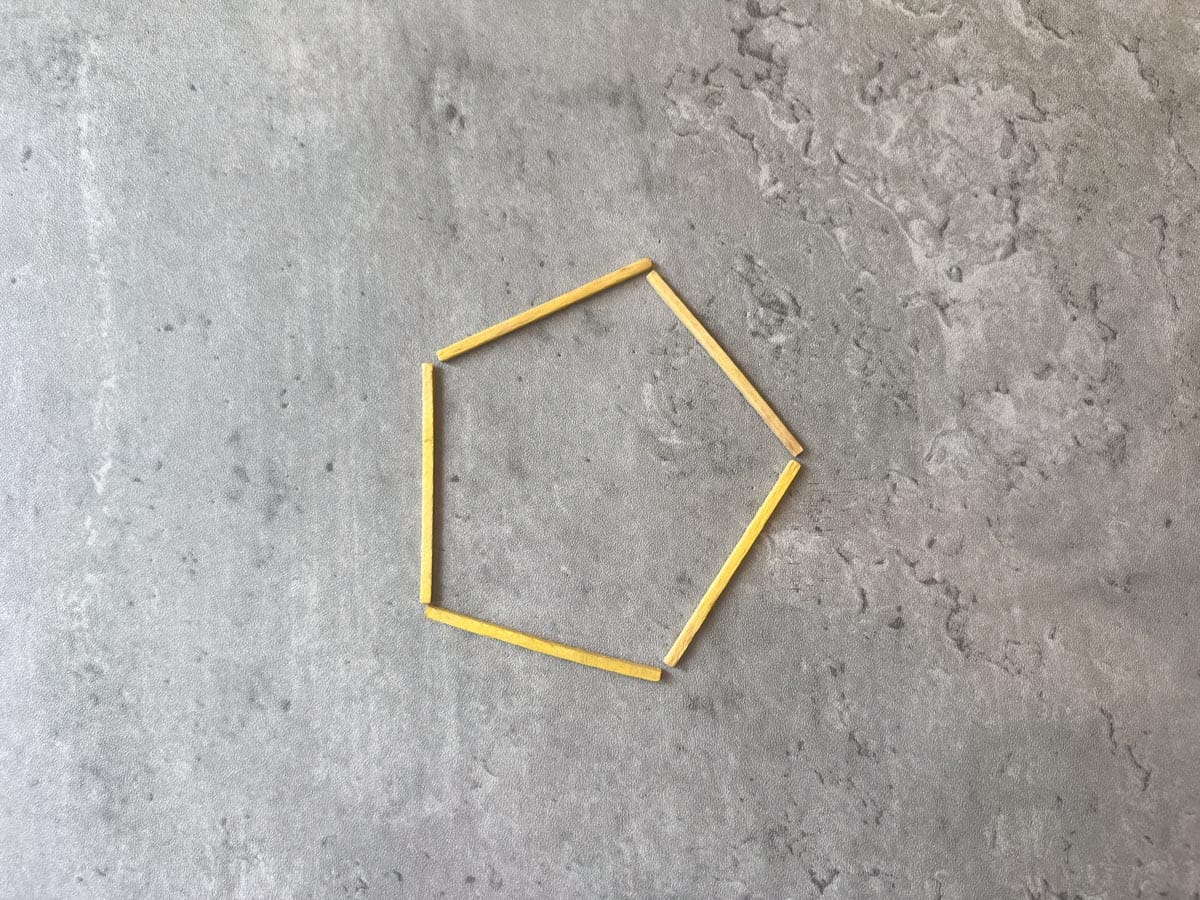
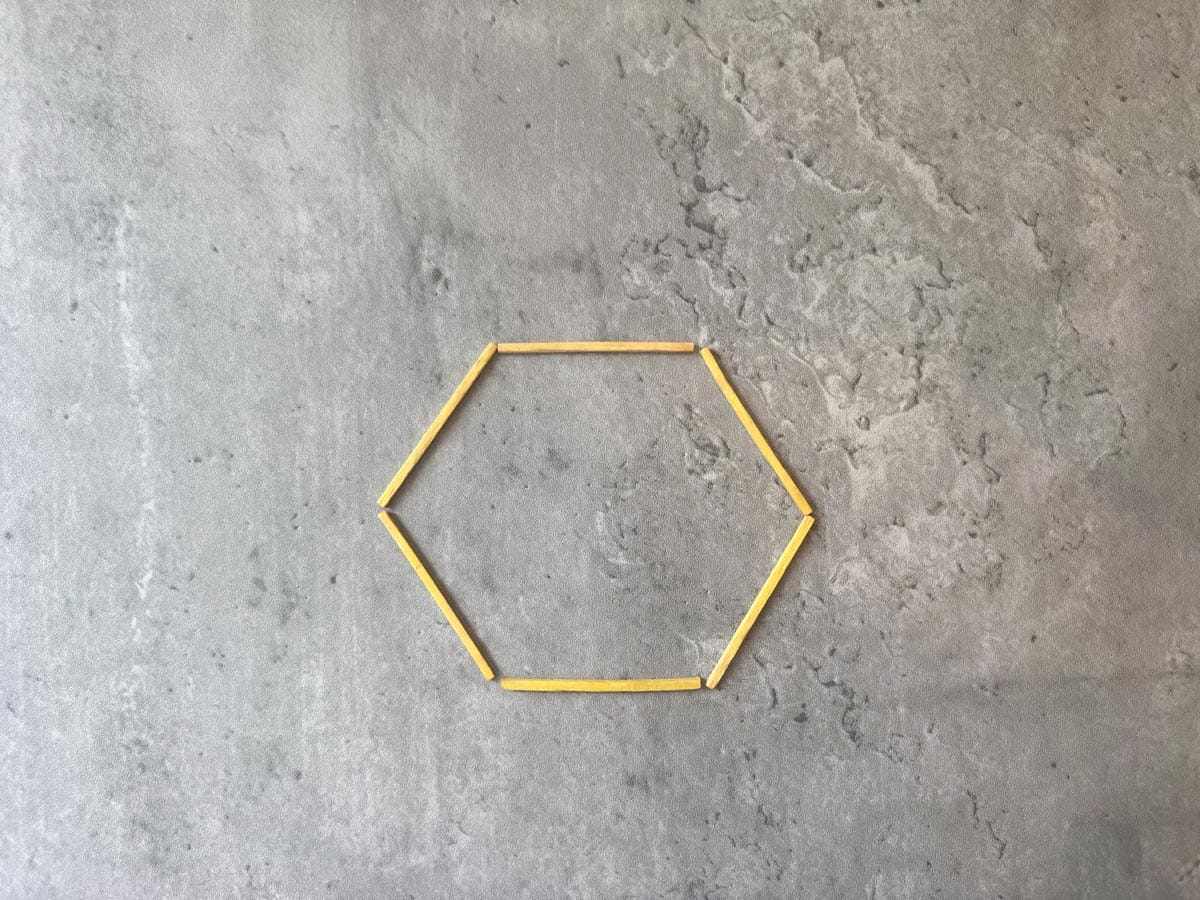
Step 6: Drawing pictures
Once you've mastered the basic shapes, the next step is to put them together. This comes naturally. You don't have to force it.
Our goal is to keep it fun. As soon as your child senses you want a result of some kind, she'll start to feel pressure and withdraw.
But don't worry, we're on track!
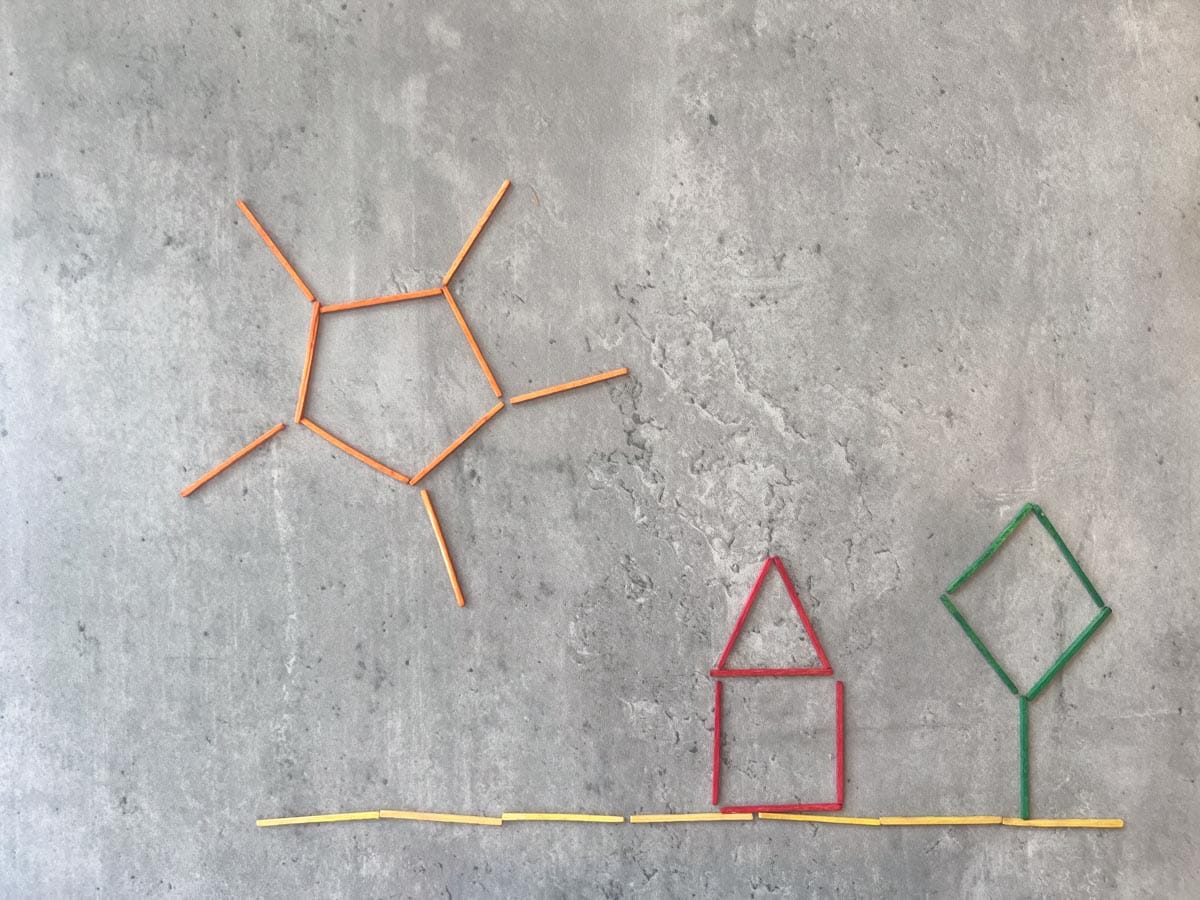
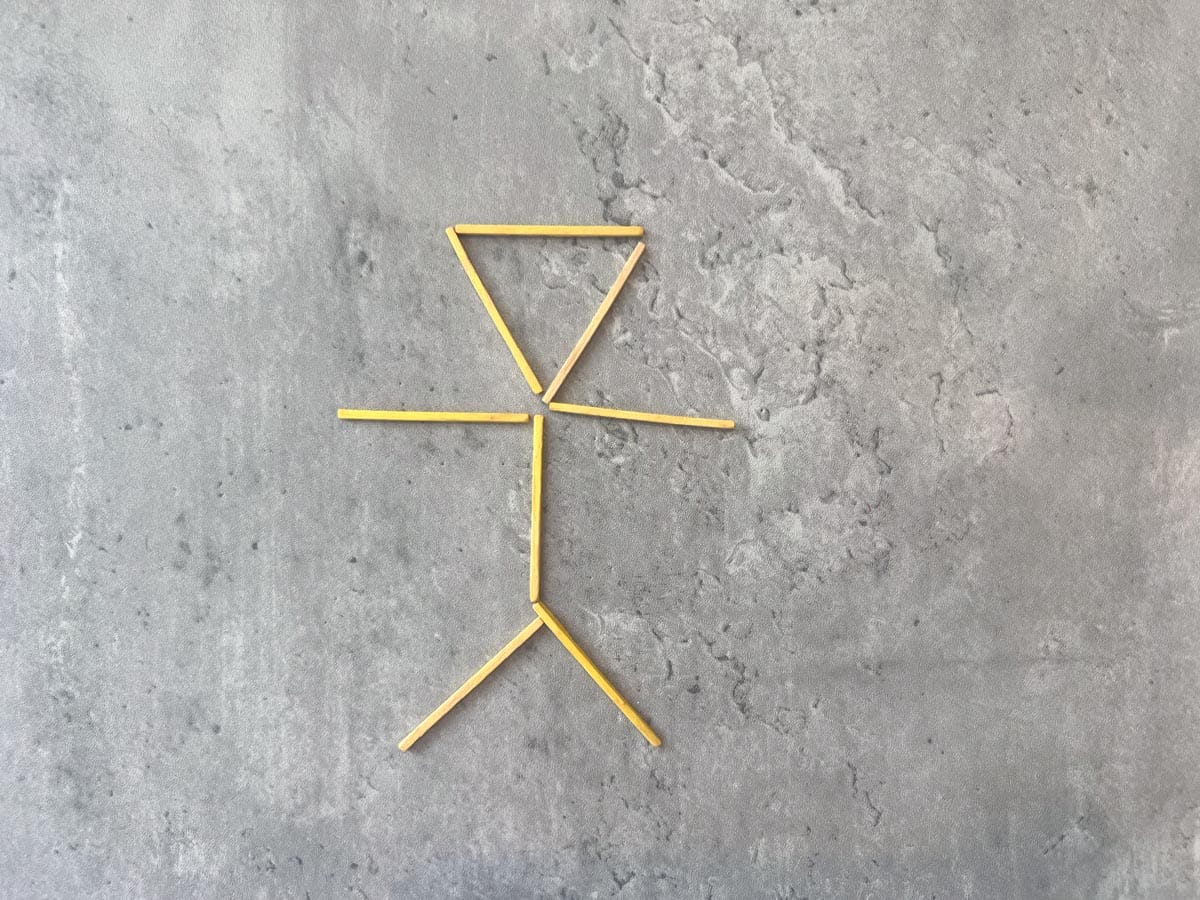
Now look at some drawings by my youngest, between the ages of three and five:
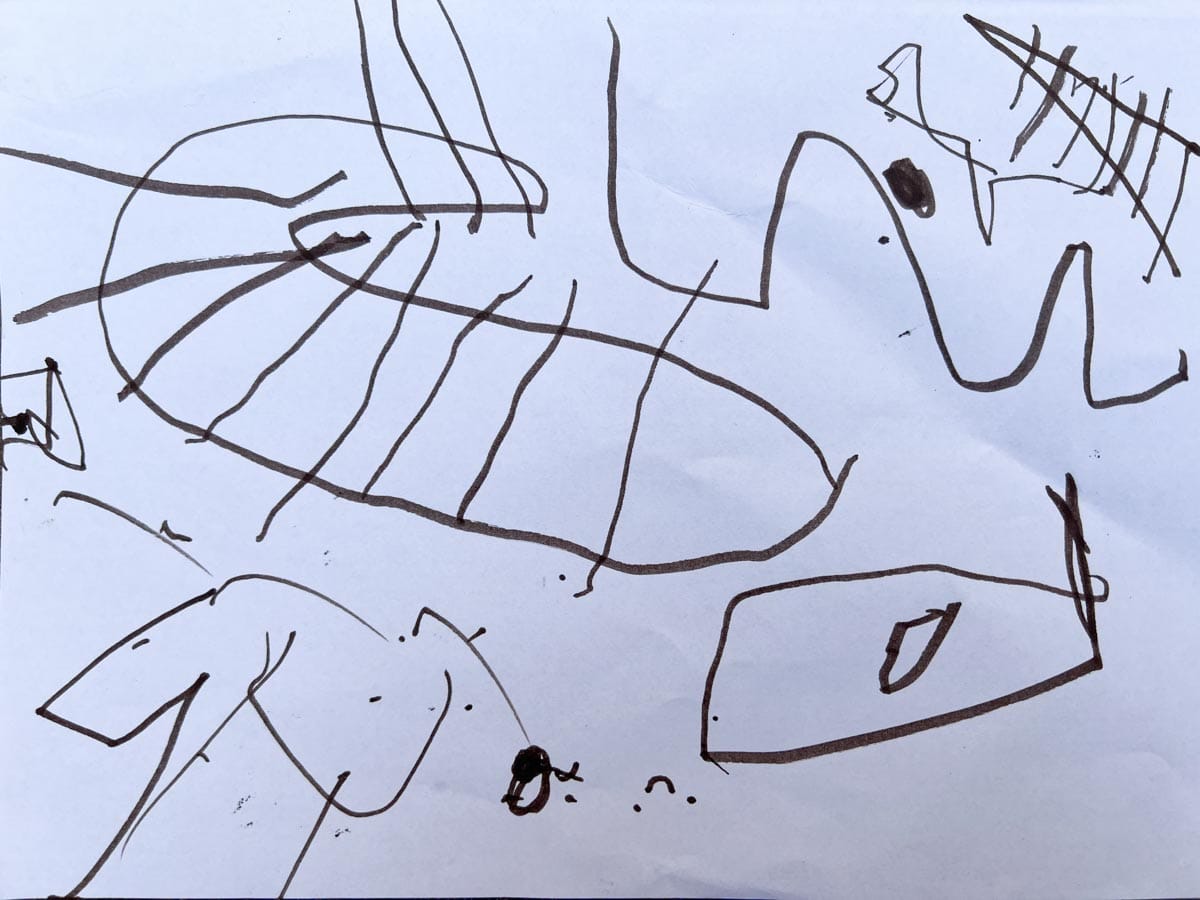
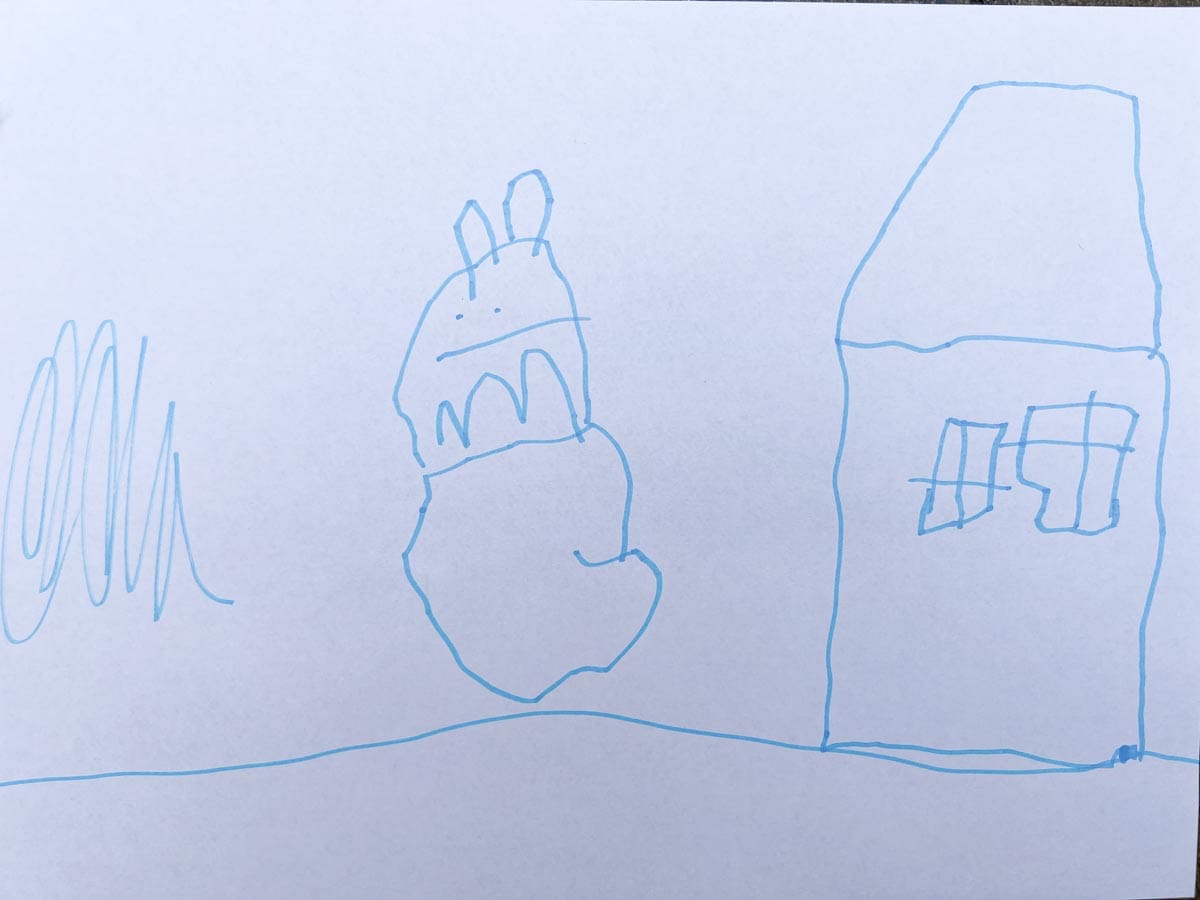
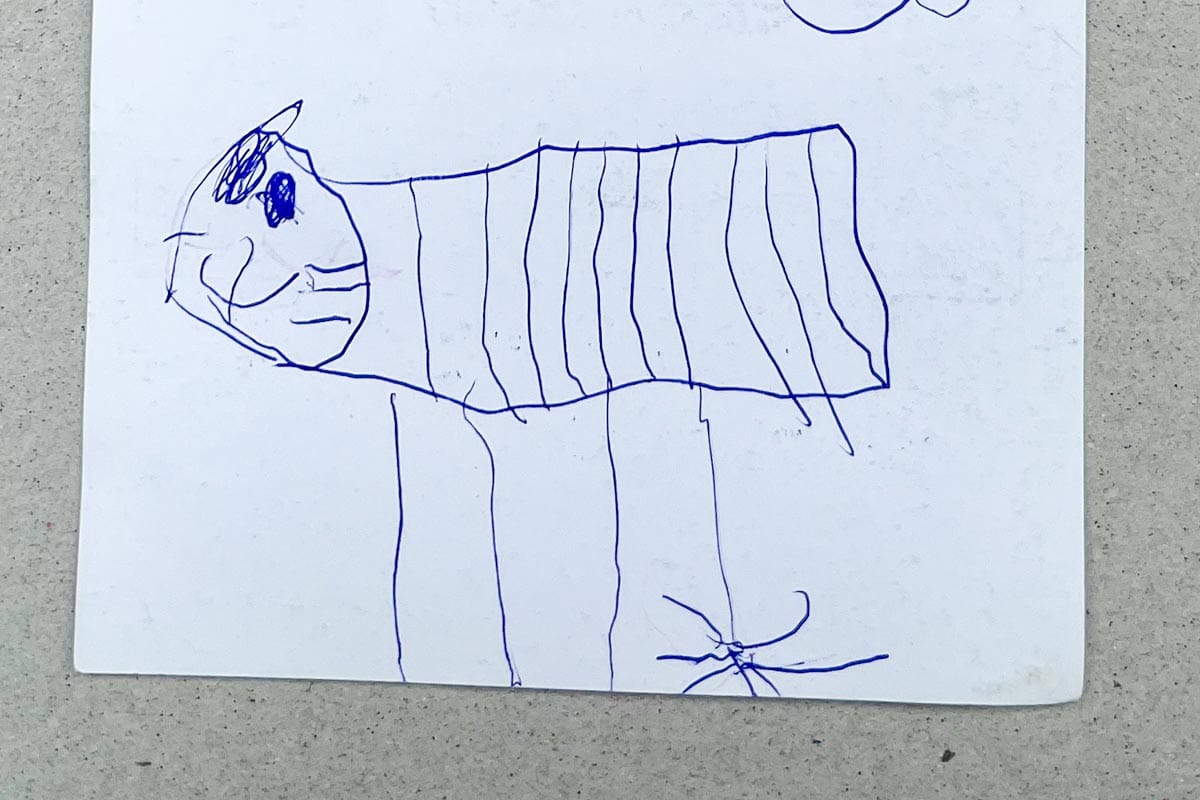
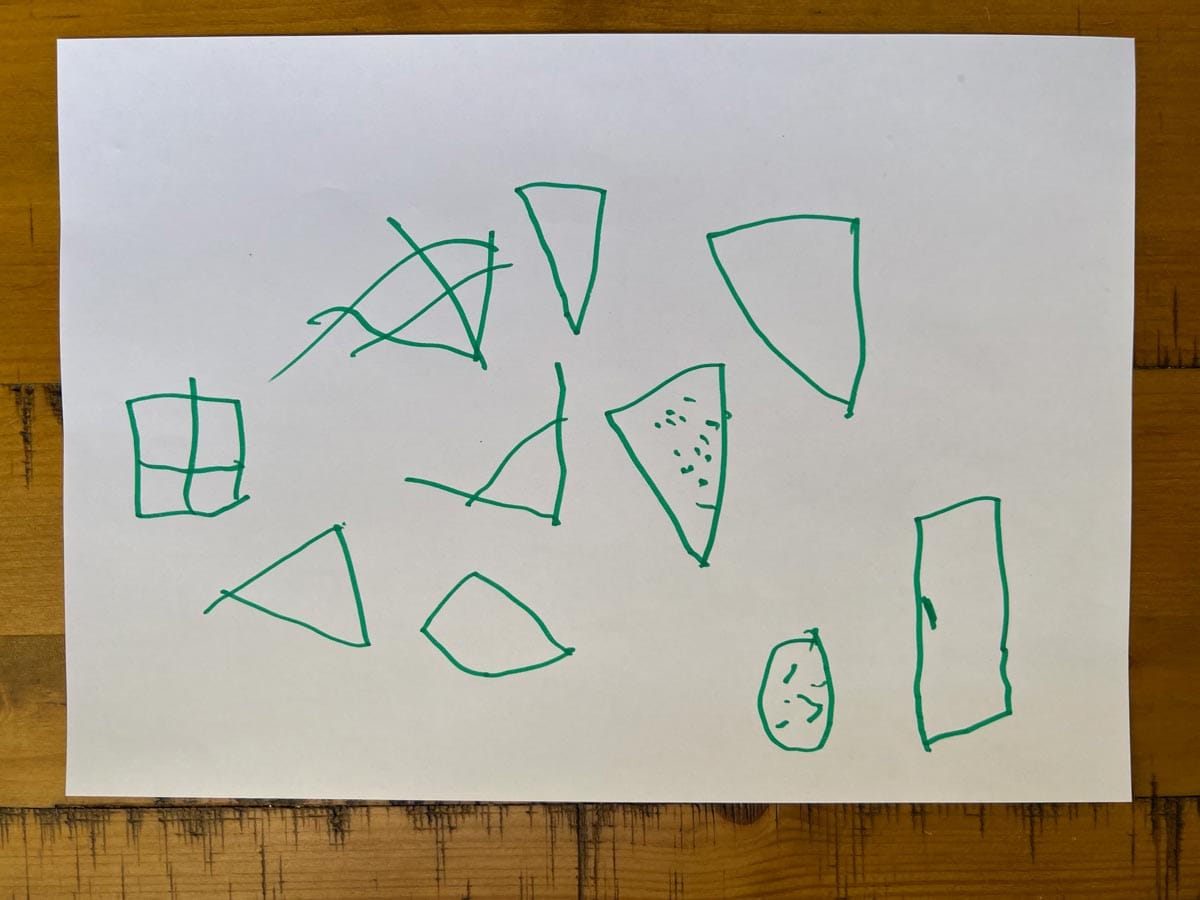
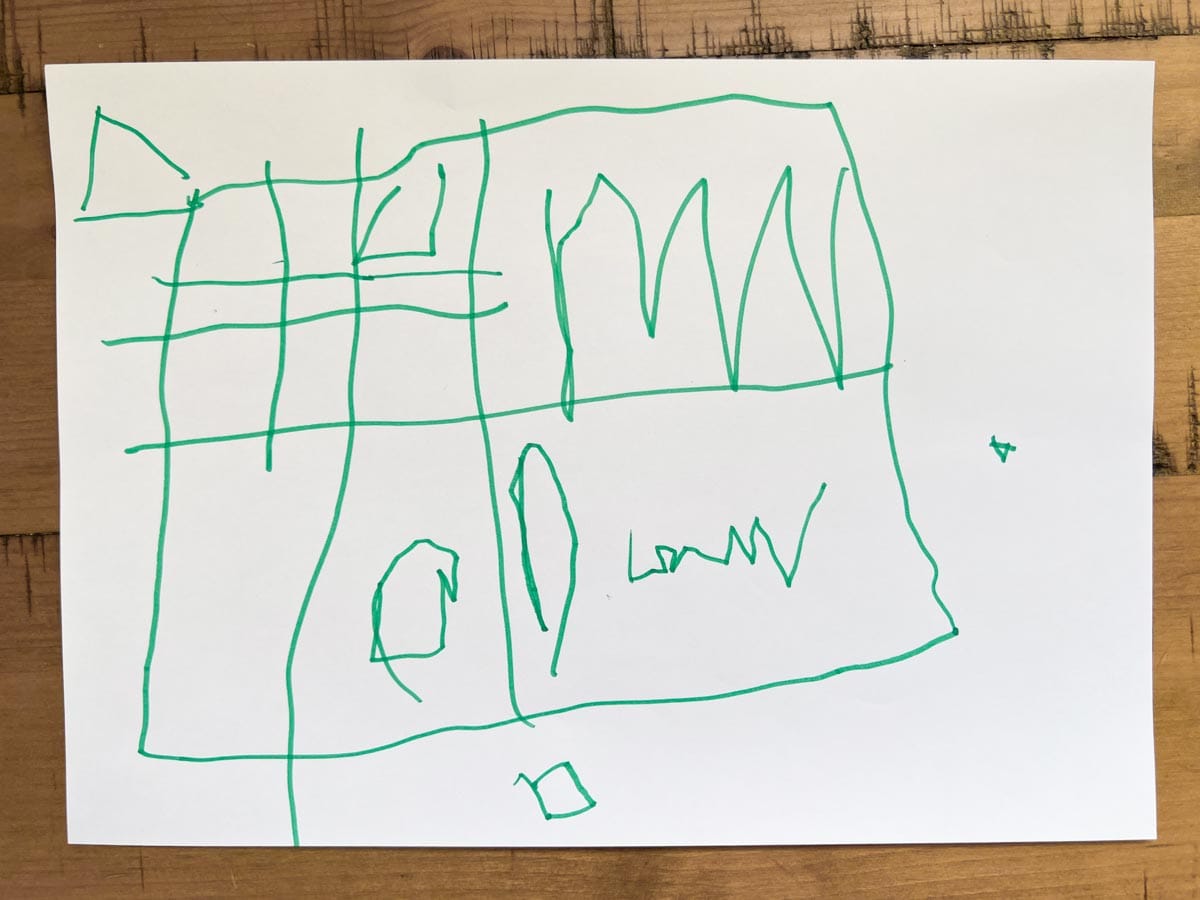
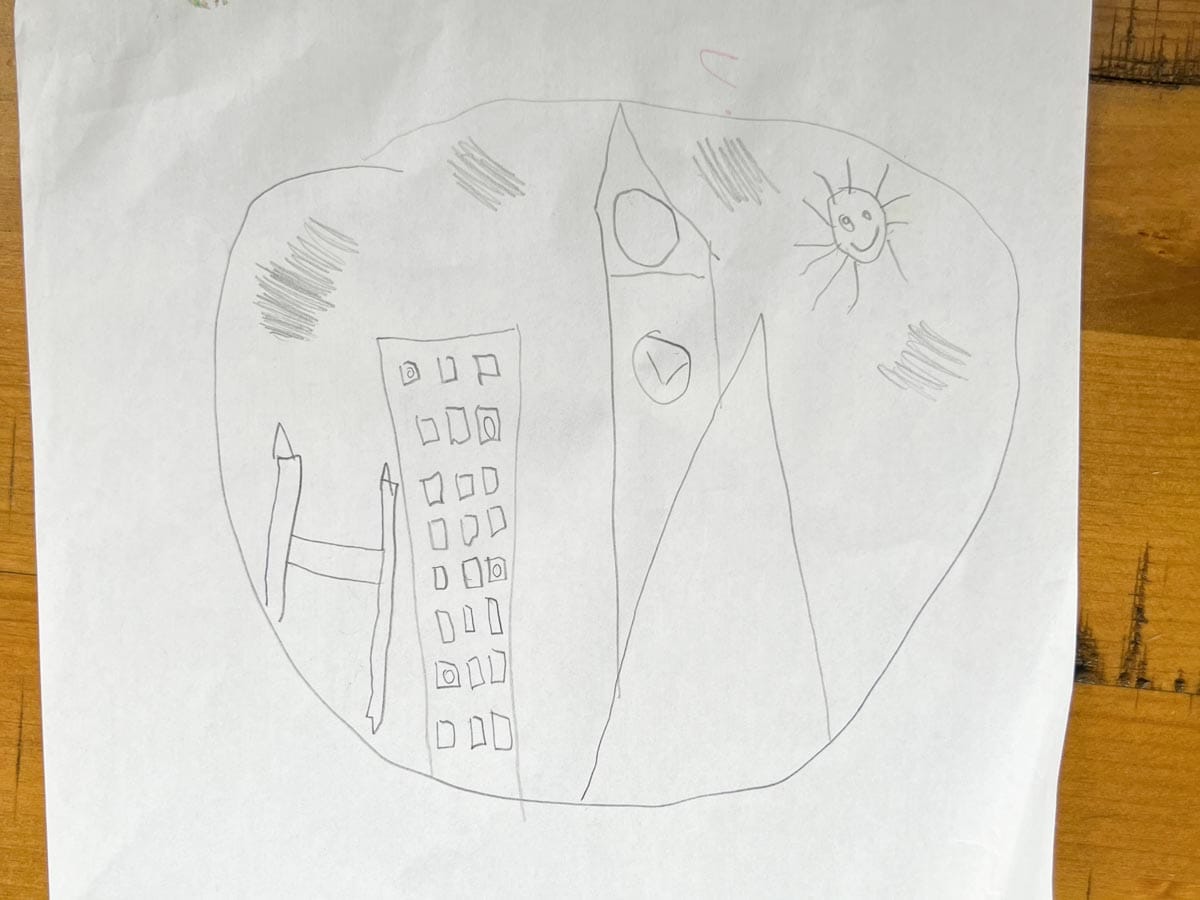
See the matchsticks? See the shapes? They are everywhere.
Now look at her writing, just before her fifth birthday.
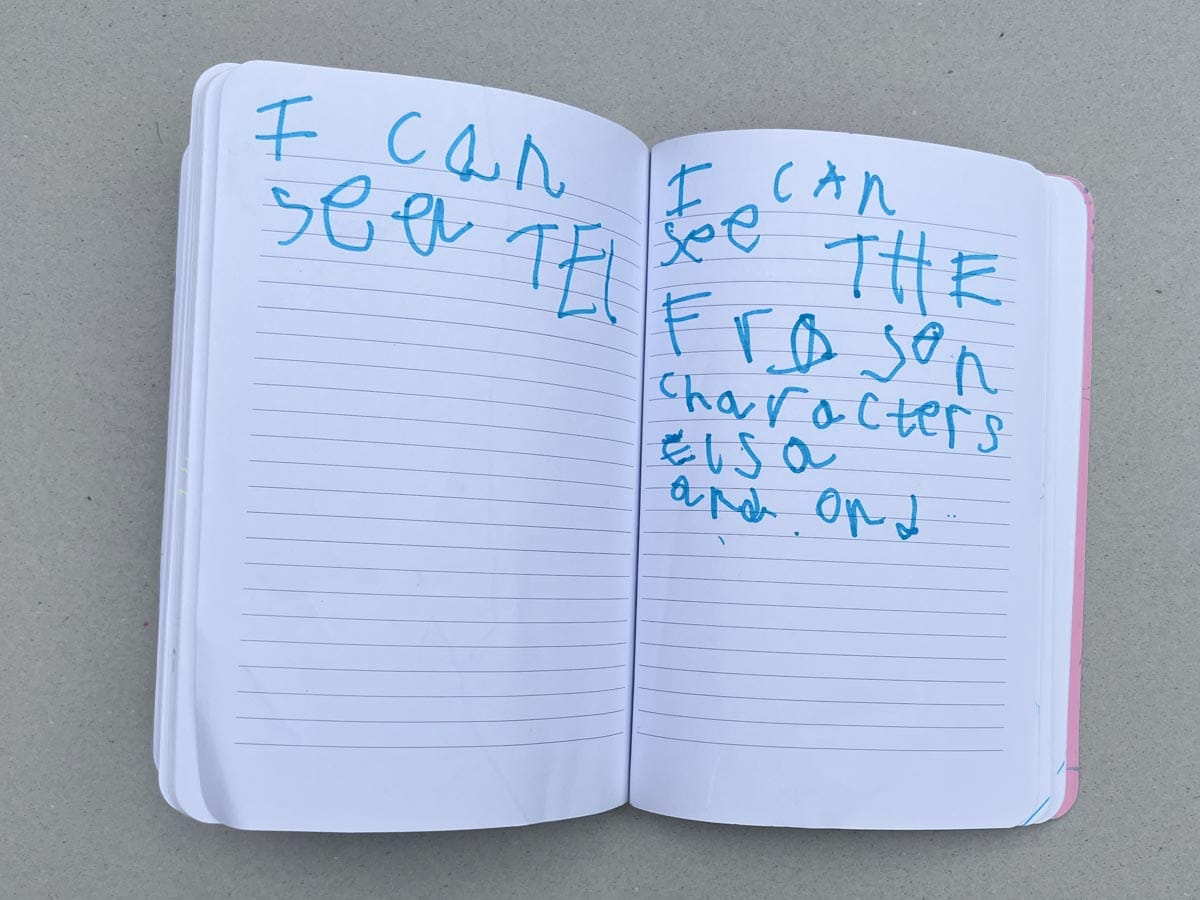
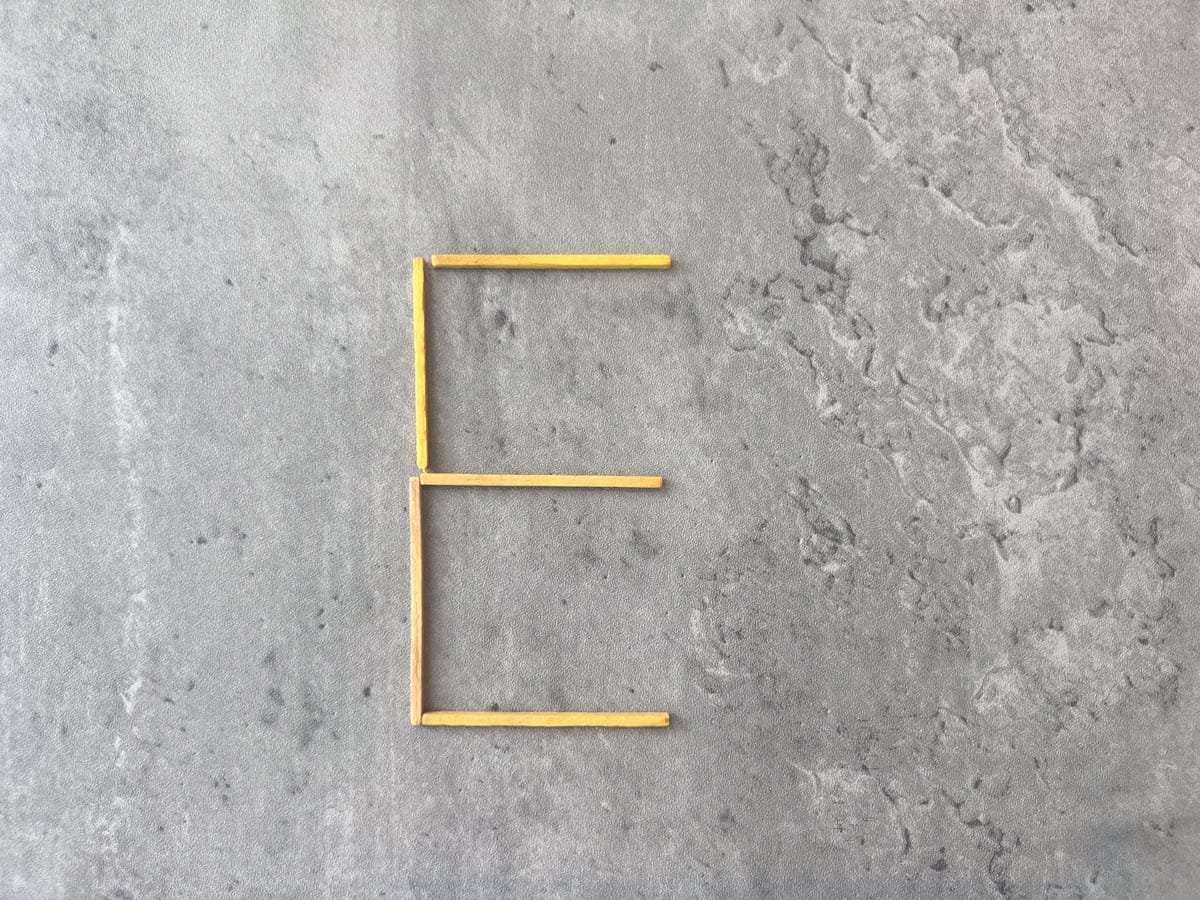
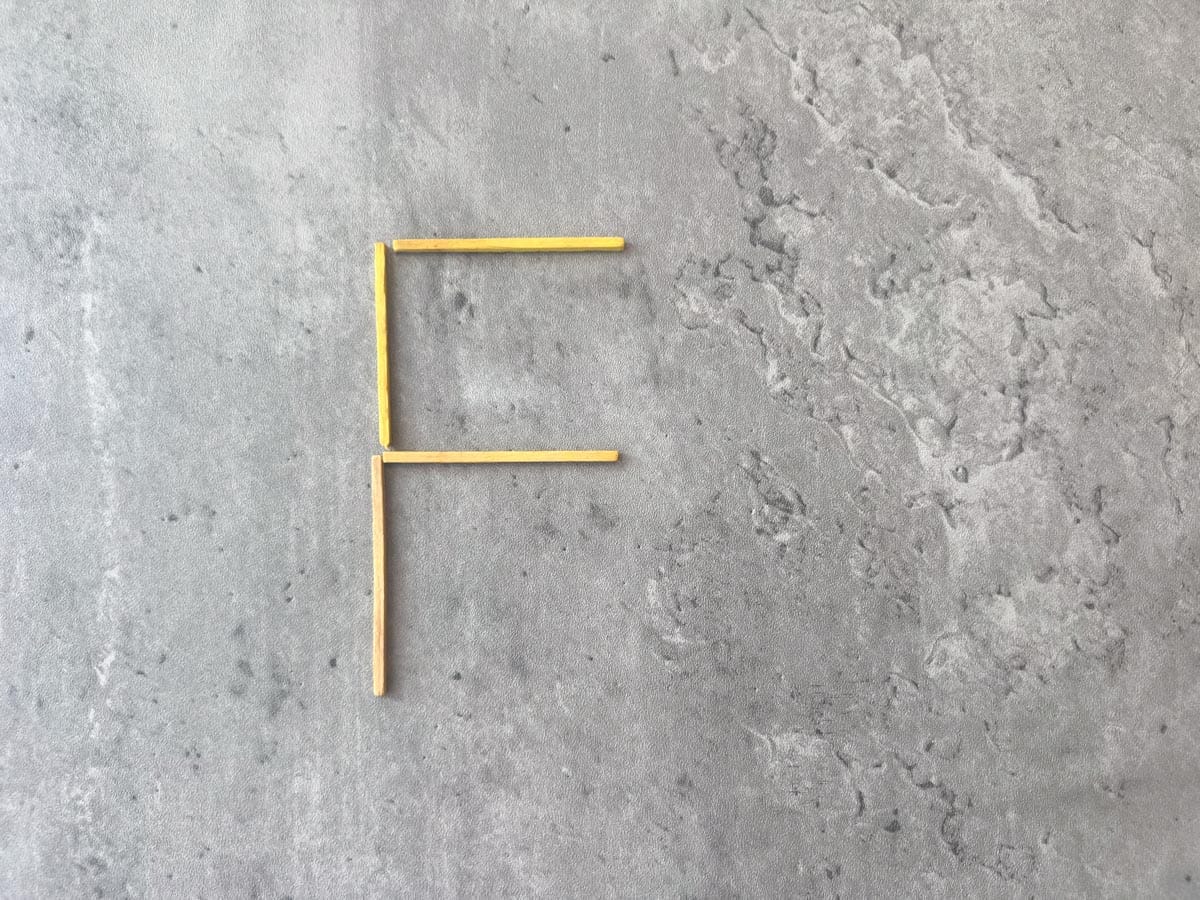
A direct line - from placing lines to drawing and writing.
Step 7: [Bonus] Matching lines to letters
We haven't quite reached the end of the road. Sam will pass through here on the way to writing but that's a story for another day.
Like Sam, your child might see the possibilities in the sticks and want to write her name. Like the place mat activity for positioning cutlery (see below), scaffolding your child's letter formation can help. Take a piece of paper and draw her name using matchstick-length lines. All she has to do is put one stick on each line.
If you're short of time, you can Google and print 'lolly stick activity cards' (to keep it low-key) or letters of the alphabet.
Easy.
Try it at home
Activities to try this week
These activities are designed to be open-ended, with minimal adult direction. Think of them as nudges rather than instructions. Provide the materials. Offer an idea if needed. Then step back and watch.
Monday. Leave a tray of sticks and small objects (bottle tops, pine cones, pebbles, buttons) near a window or on the kitchen table. Say nothing. Wait to see what she builds.
Tuesday. Lay out three or four matchstick figures. They are an invitation into a story.
Wednesday. Explore symmetry by placing a mirror on the table alongside the sticks. Let your child discover that you can make a complete shape with just half the pieces.
Thursday. Offer a mix of straight and curved materials: sticks, string, leaves, pipe cleaners. Let her explore different types of lines and how they can be combined.
Friday. Get outside and go large. Do you have any materials you can arrange in the garden? Logs, branches, benches? Challenge your child to apply her learning on a bigger scale.
One nudge, one habit, and one change to the room
Nudge. Set out a small tray with a mix of circles (curtain rings, bangles), buttons, and matchsticks. Arrange one figure yourself: a ring for the head, buttons for eyes, matchsticks for arms and legs. Then leave it. Your child might copy it, adapt it, or spot what’s missing.
With time, she’ll add a body too — because something in the pattern feels incomplete.
This is arranging with purpose. She’s not just making a shape — she’s making sense of the world.
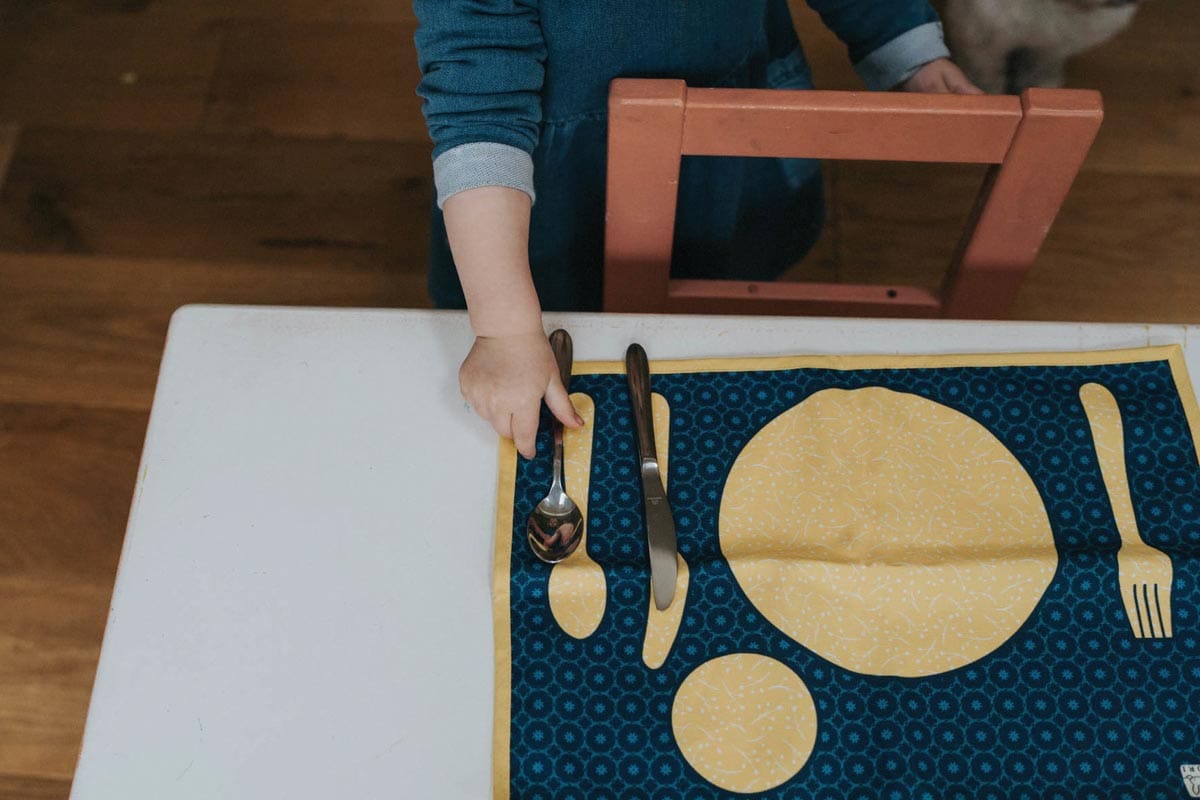
Habit. Involve your child in laying the table for lunch. Plate in the middle, fork on the left, knife on the right, spoon at the top, beaker top right. You can even buy placemats with these positions marked (like the one shown here). Over time, the mat can be removed - and your child will have internalised the layout, with left and right learned as a bonus.
Environment. Encourage larger-scale arranging by making a few lightweight pieces of furniture available. A play kitchen, a small table and a couple of chairs are enough. Watch what happens: two chairs side by side become a car. One behind the other — a bus. Don’t want the clutter of buying furniture your child will grow out of? Cardboard boxes are a fine substitute.
Toys that support arranging
You don’t need toys to begin arranging — sticks, stones, and scraps are more than enough. But some materials make it easier to build quickly, explore more combinations, and develop a sense of what works.
Here are a few to look out for:
- Connecta Straws or similar building straws. Ideal for rapid shape creation. Children can snap together straight lines and joints, experimenting with angles and enclosed spaces. A triangle or square takes seconds to build — and even less time to adapt.
- Polydron or magnetic shapes. These reinforce the properties of geometric forms. You can join several shapes together, flip them, and explore how they combine to form new figures.
- Wooden arches and semi-circles. Encourage radial and spiral constructions. Children can create flower shapes, wheels, or faces with surprising ease.
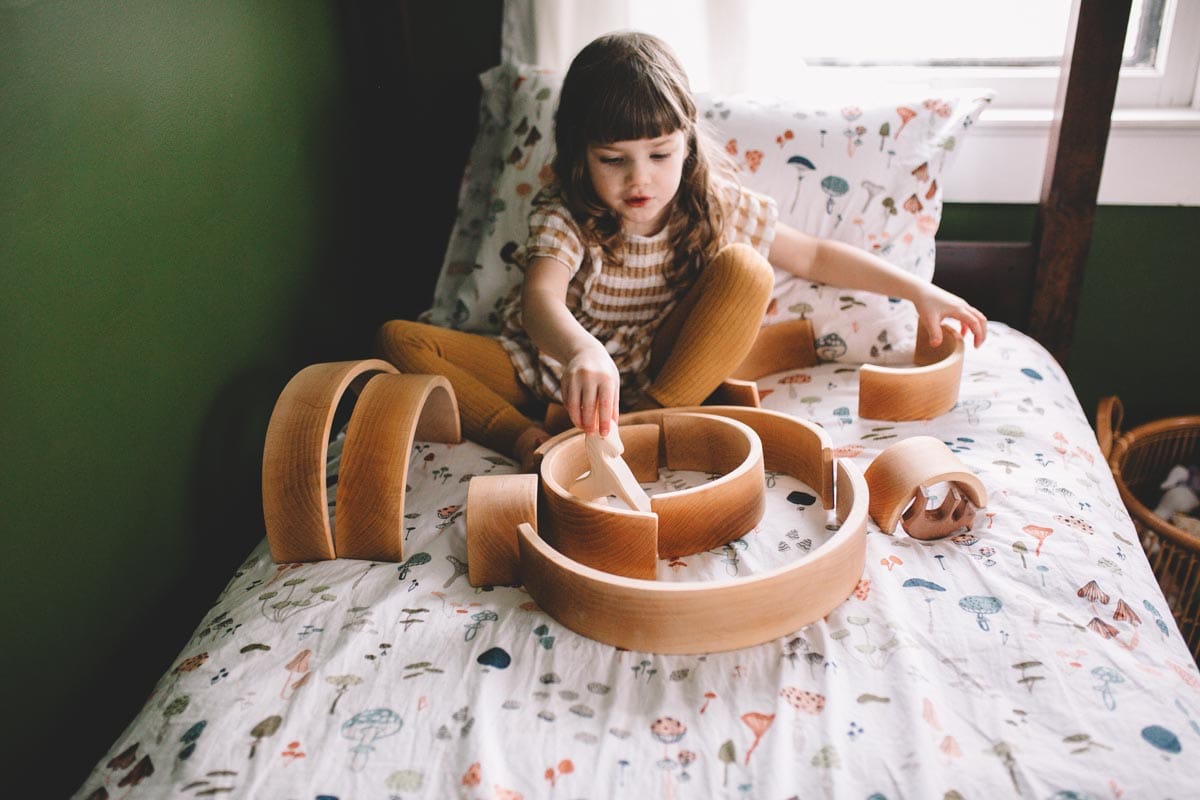
- Plasticine or soft wax. There are two ways to use this:
- Roll it into thin lines to use as flexible sticks. This lets children make curves and create letters like 'S' or circles with far greater realism.
- Use it as 'connectors' (like Froebel's peas and sticks), enabling three-dimensional building. This 3D extension is challenging but achievable for children approaching five, and a natural next step for those drawn to it.
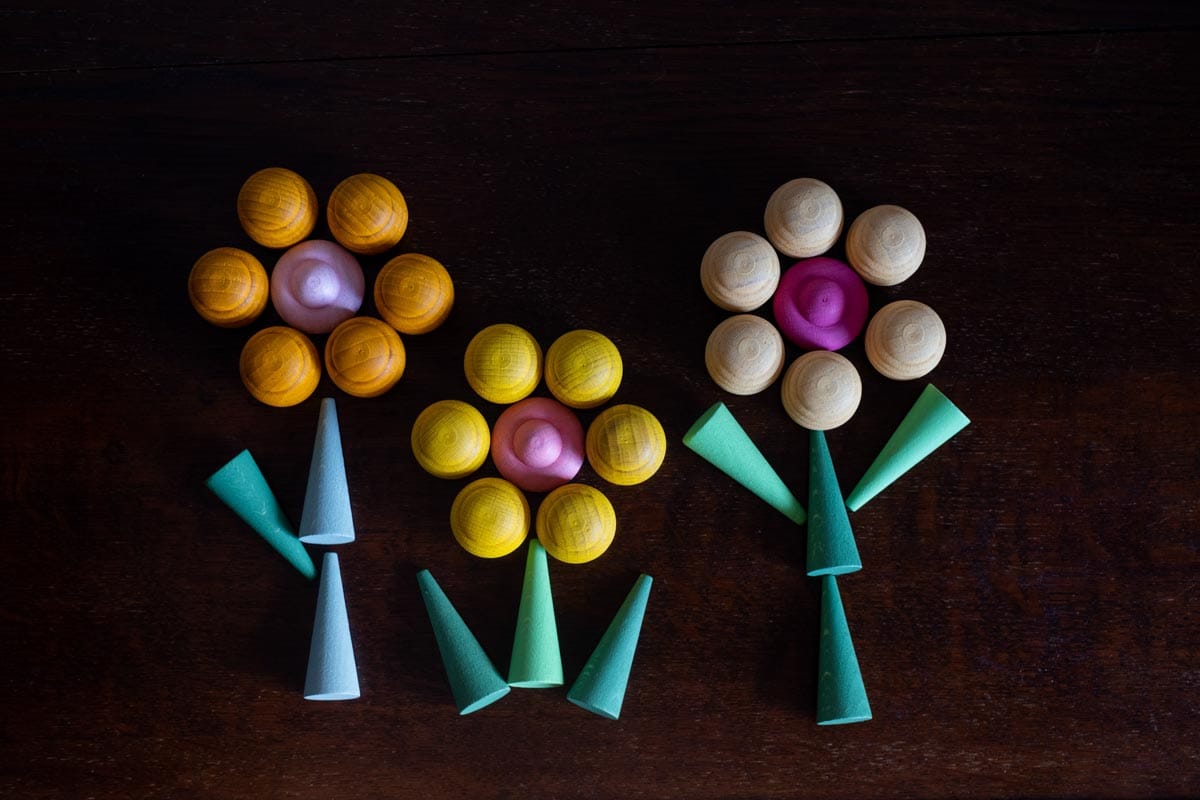
Offer one or two of these toys alongside natural or recycled materials. You’re not trying to steer the play — just offering new tools for thinking in space.
At 6, Alice uses her knowledge of shape and position to draw increasingly sophisticated pictures and has mastered letter formation with ease.
At 8, Raj uses these skills to play chess. He sees the board, not as fixed, but as a system in motion. He can hold multiple positions (arrangements) in mind and imagine their consequences.
At 11, Daisy is learning to code in Scratch. She sequences blocks of code like dominoes – each triggering the next, each changing what happens onscreen. Most importantly, she shows us her transition from using concrete objects, real things she can touch and move, to abstract thought. She can now arrange ideas in her head.
It all starts here: with two lines, joined at a corner.
Looking ahead
In the next issue, Sam and George will move from arranging shapes to using their hands in new ways - twisting, pinching, threading and folding - to develop the muscle control needed for writing. You’ll learn how to support your child’s fine motor development through simple, everyday activities.
Final word
Sam is still at the table, but now he's all smiles, his name spelled out in matchsticks.
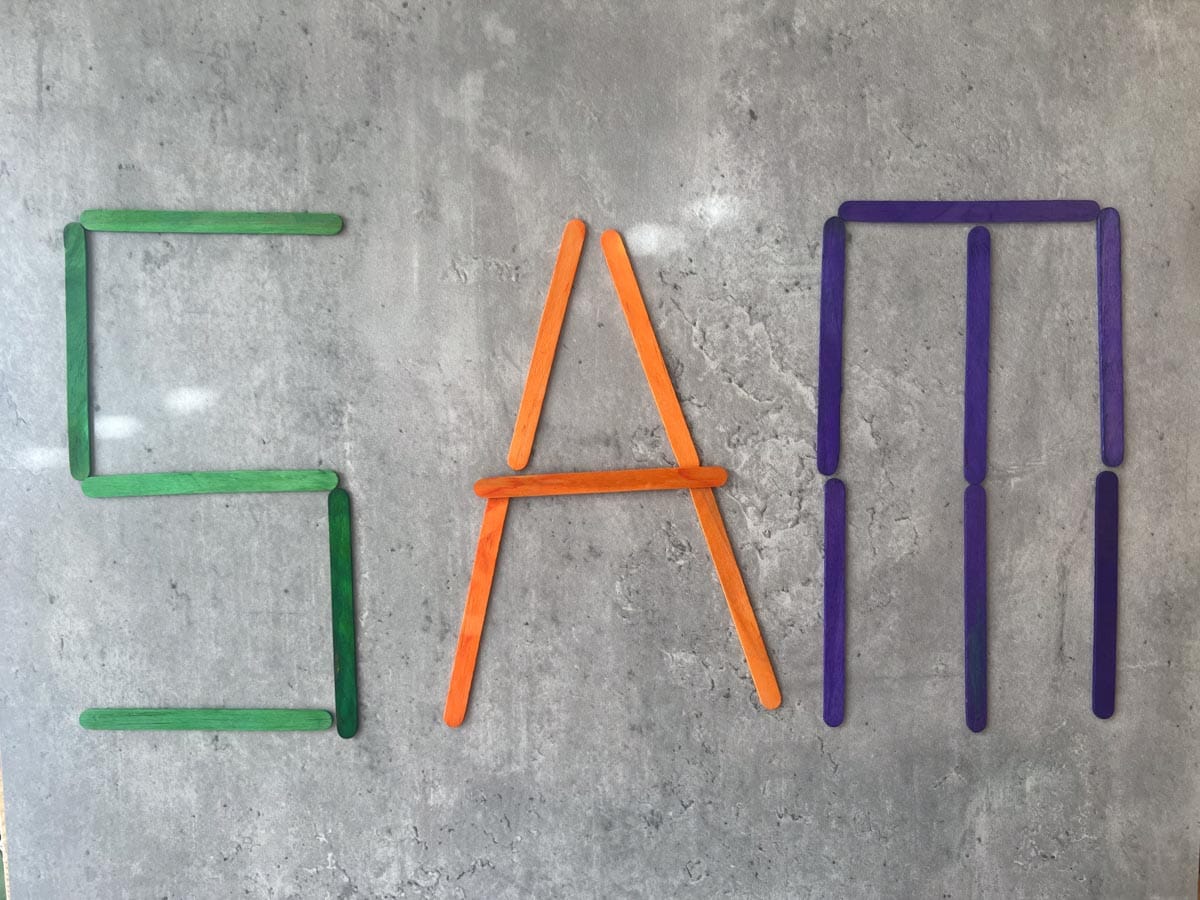
He takes a lolly stick away then puts it back again, satisfied that the letter is restored.
Then jumbles the lot and starts from scratch. He forgets a couple of steps but now knows the game. He experiments until it's just right.
Beaming, he breaks it again. Over and over.
When your child is motivated to depict something, she begins to solve problems of shape and line.
The 'A' looks like a roof. A roof is a triangle. If I add a square I can turn it into a house. And if I copy this design I can make a town!
And what about people? Legs are like triangles with the bottom missing. I could even use one as a head. Or would a square be better?
She’s making meaning. And in doing so, she’s discovering geometry, composition - and the building blocks of writing.
Happy playing!
Alexis
Comments ()